Settings
 Pabbly Email Marketing Team•Updated Oct 24, 2026•3 min read
Pabbly Email Marketing provides REST APIs and Webhooks to help you integrate external applications, automate workflows, sync subscribers, and receive real-time updates about events happening in your account.
To authenticate and use the Pabbly Email Marketing APIs, you need an API (Bearer) Token. Follow the steps below to generate and manage your API token.
Visit Pabbly Email Marketing
Log in using your registered email ID and password
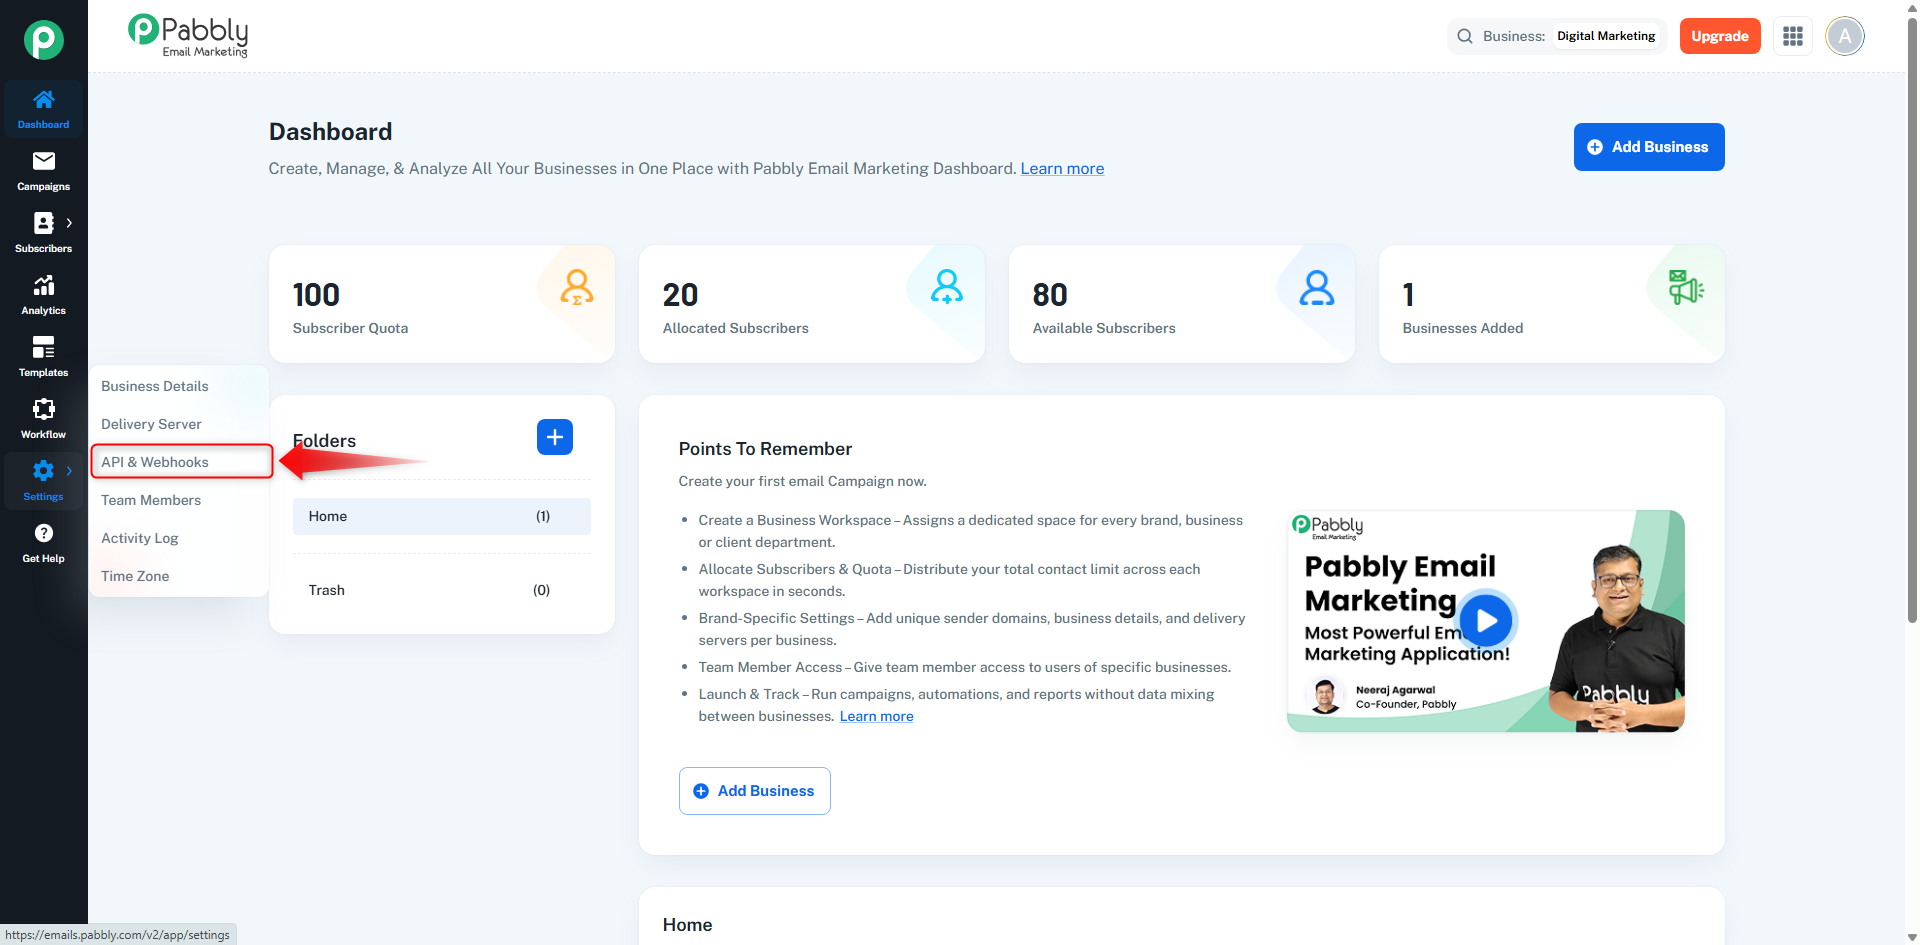
From the left sidebar, click on Settings
Under Settings, select API & Webhooks
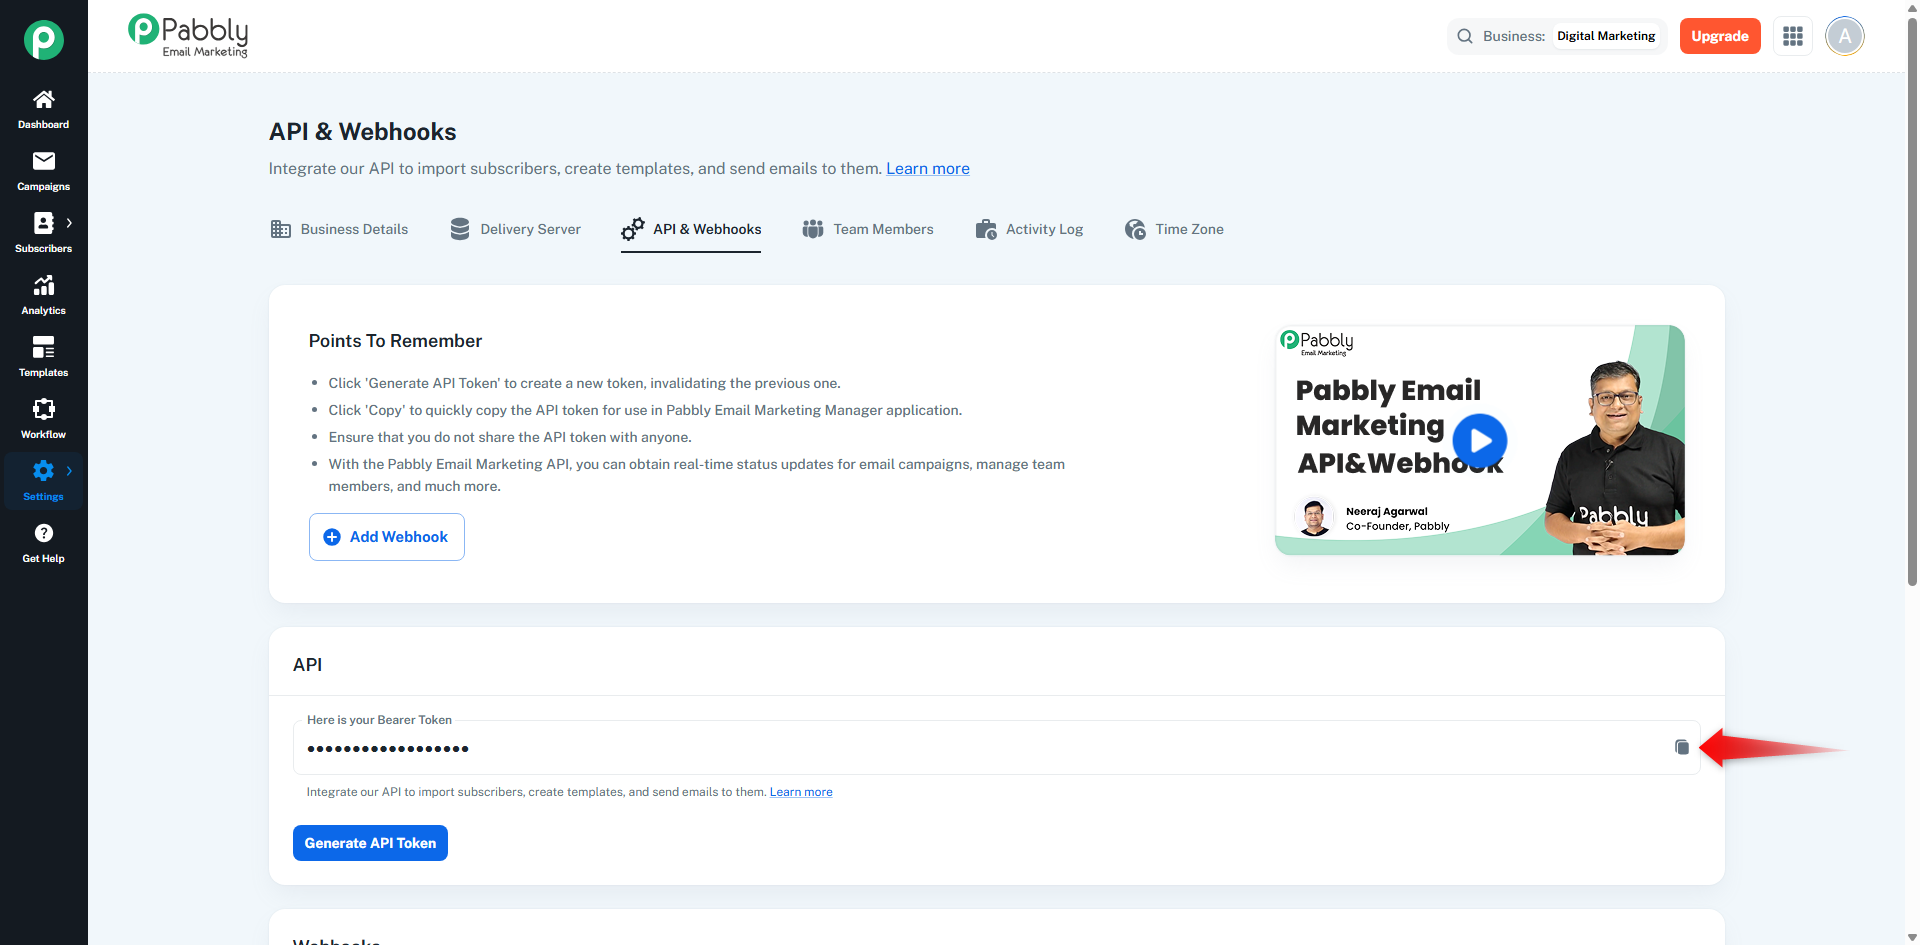
In the API section, you will see your Bearer Token
Click on the Copy icon to copy the token
Use this token to authenticate API requests in your applications
Note: Keep your API token secure. Do not share it publicly or expose it in frontend code.
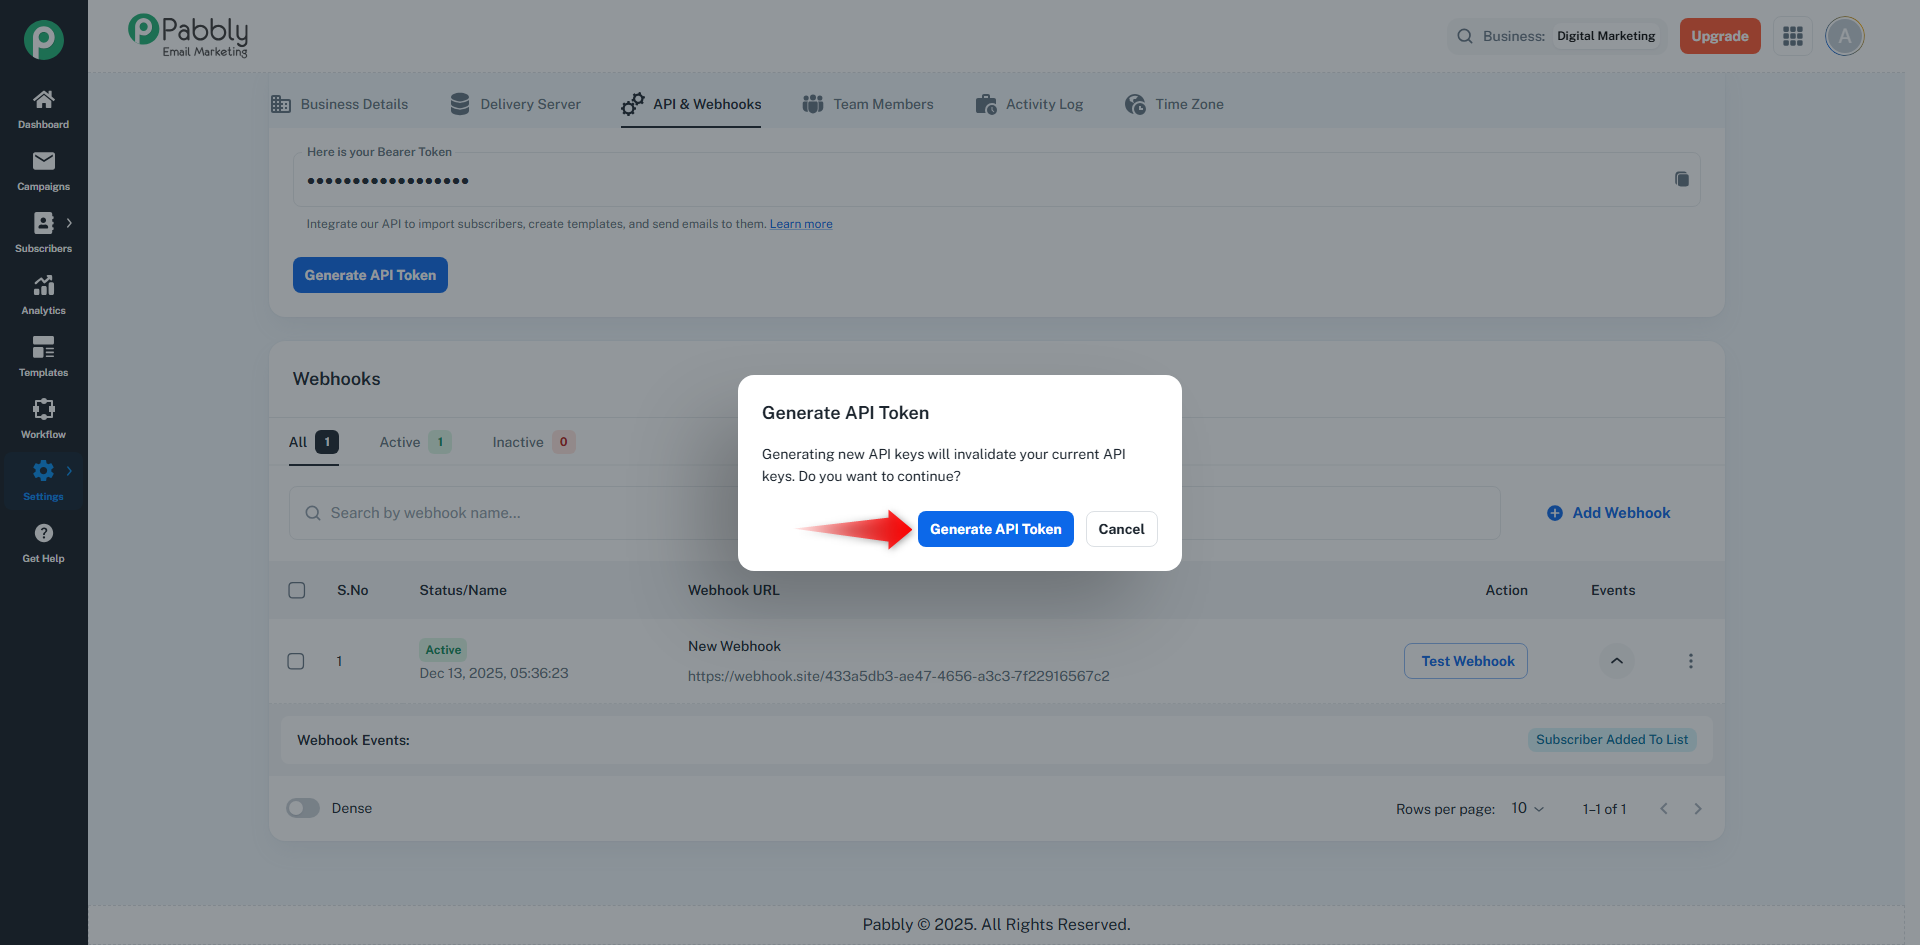
Click on the Generate API Token button
A confirmation popup will appear informing that the existing token will be invalidated
Click Generate API Token to continue
Important:
Generating a new token will invalidate the existing token
Update the new token wherever it is being used
Webhooks allow you to receive real-time notifications whenever specific events occur in your Pabbly Email Marketing account.
Go to Settings → API & Webhooks
Scroll down to the Webhooks section
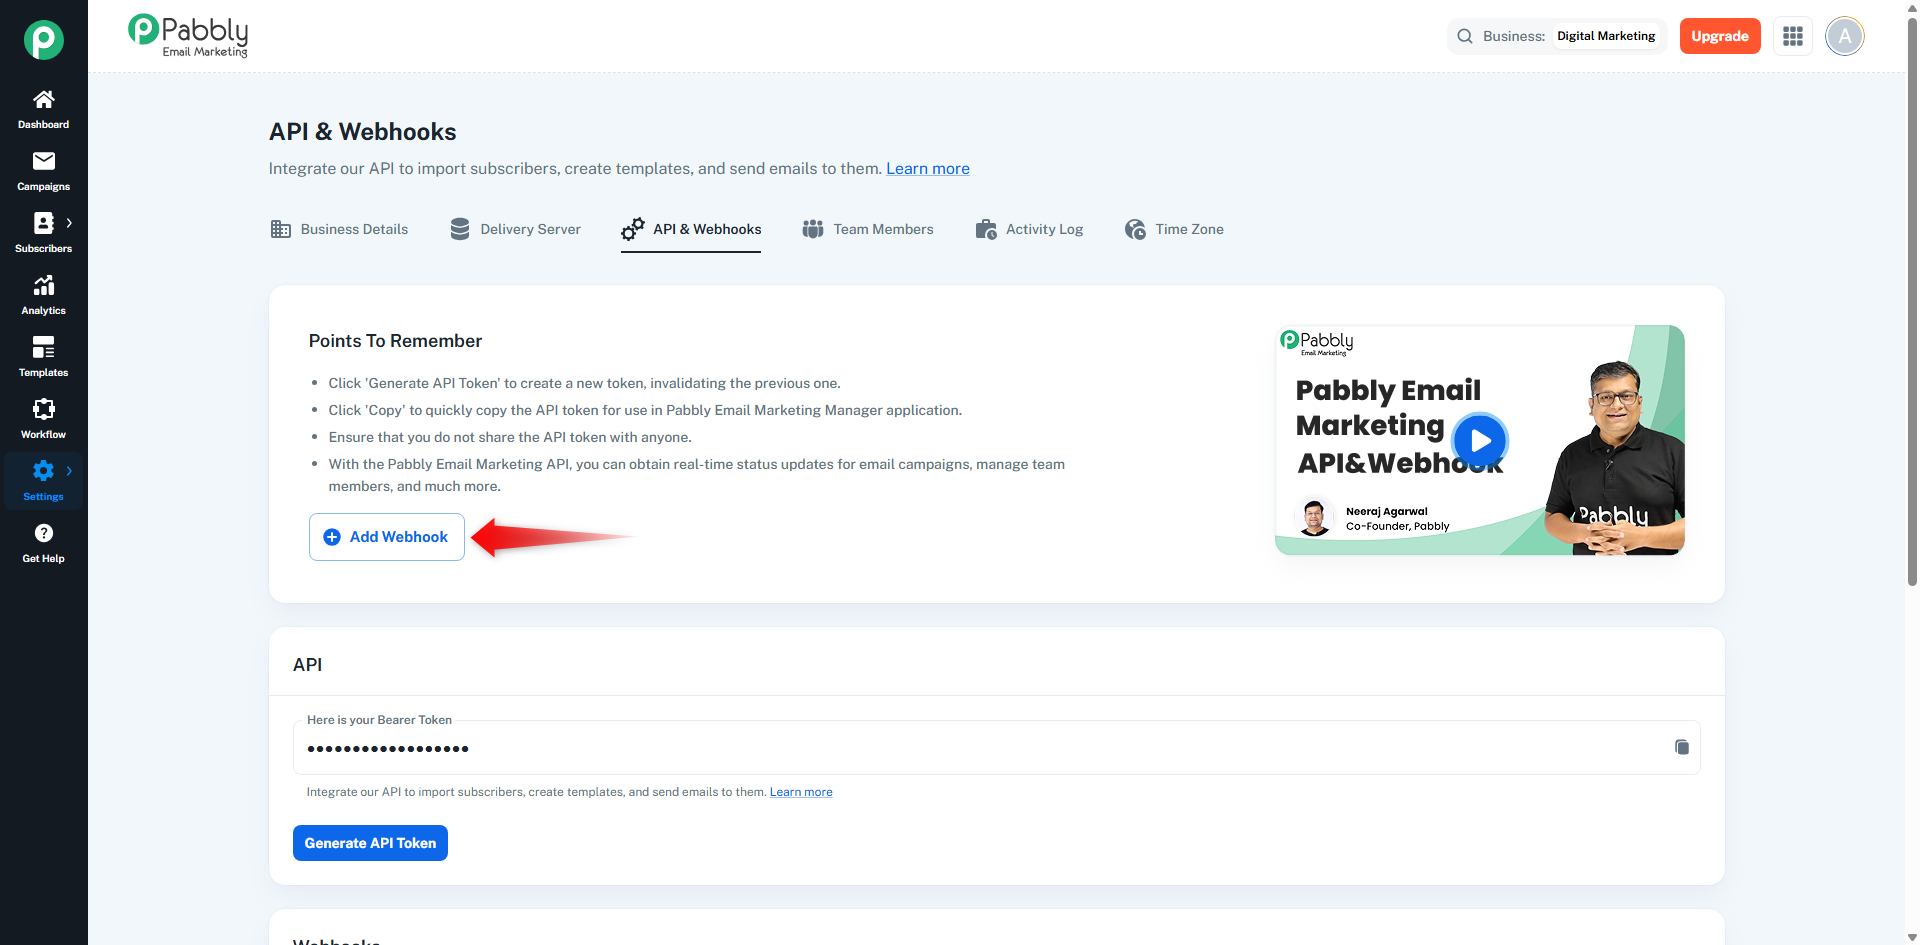
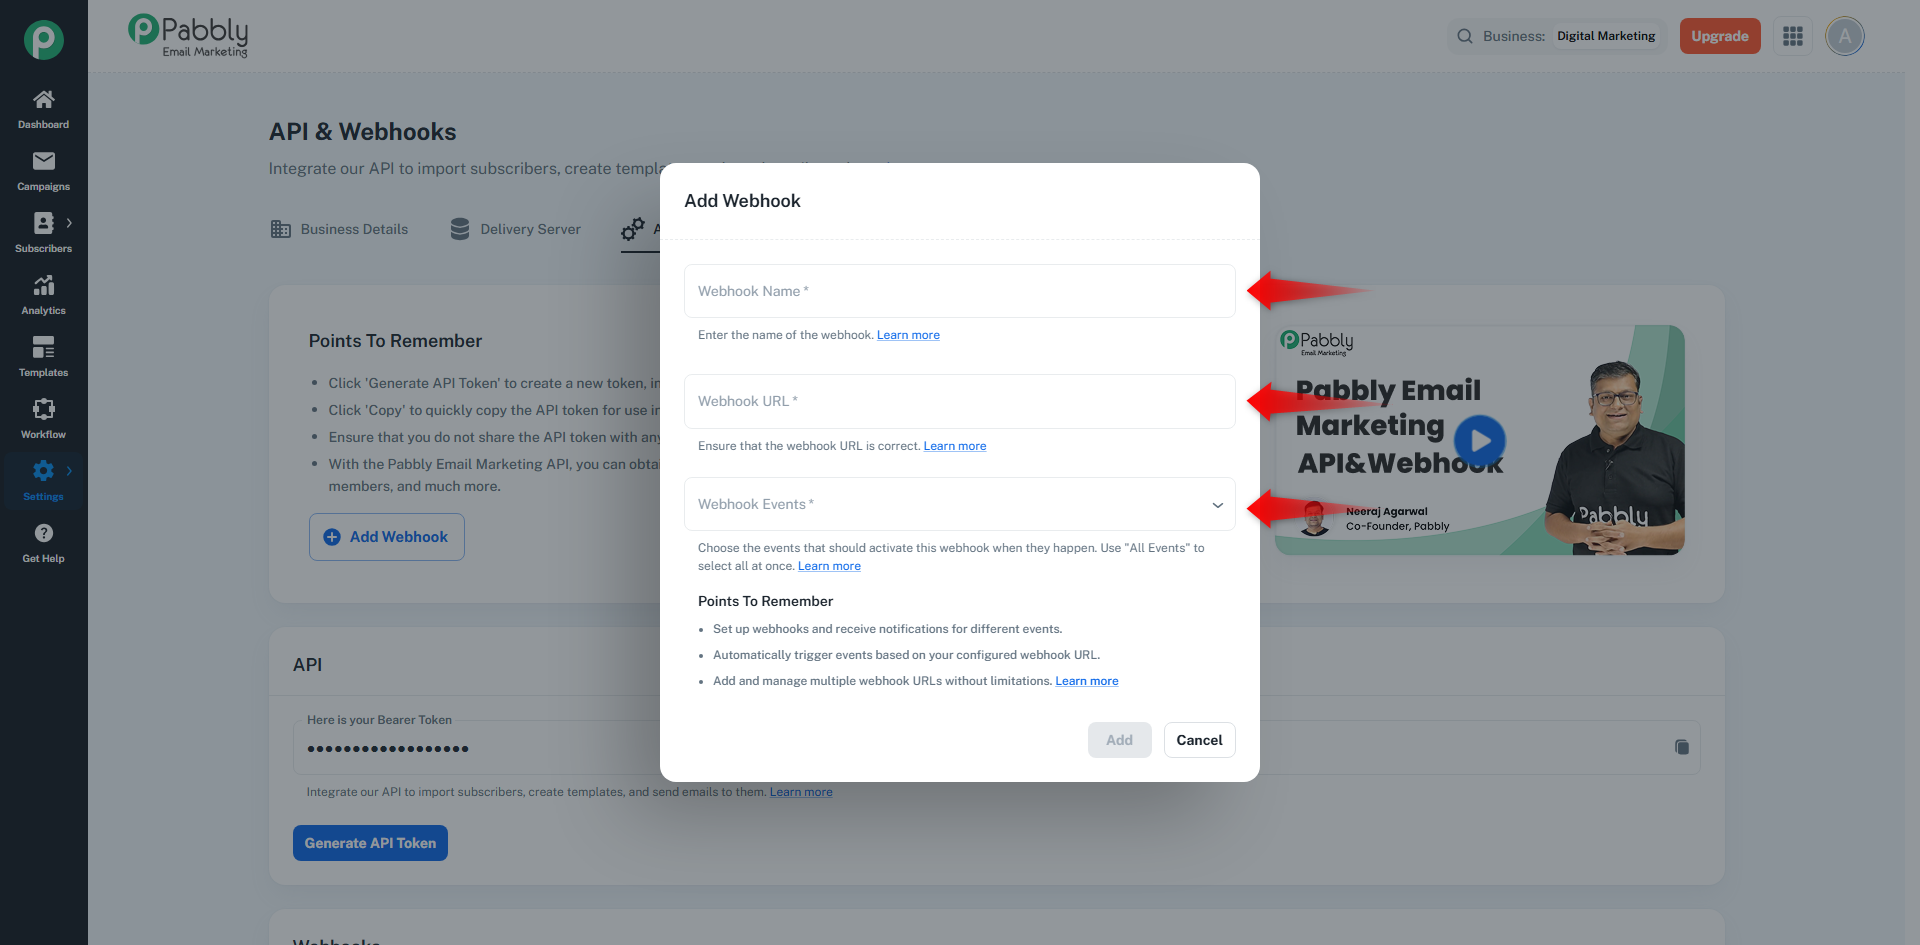
Click on the Add Webhook button
A popup dialog will open. Enter the following details:
Enter a descriptive name (e.g., New Subscriber Added)
Enter the endpoint URL where webhook data should be sent
(Example: https://webhook.site/xxxxxx)
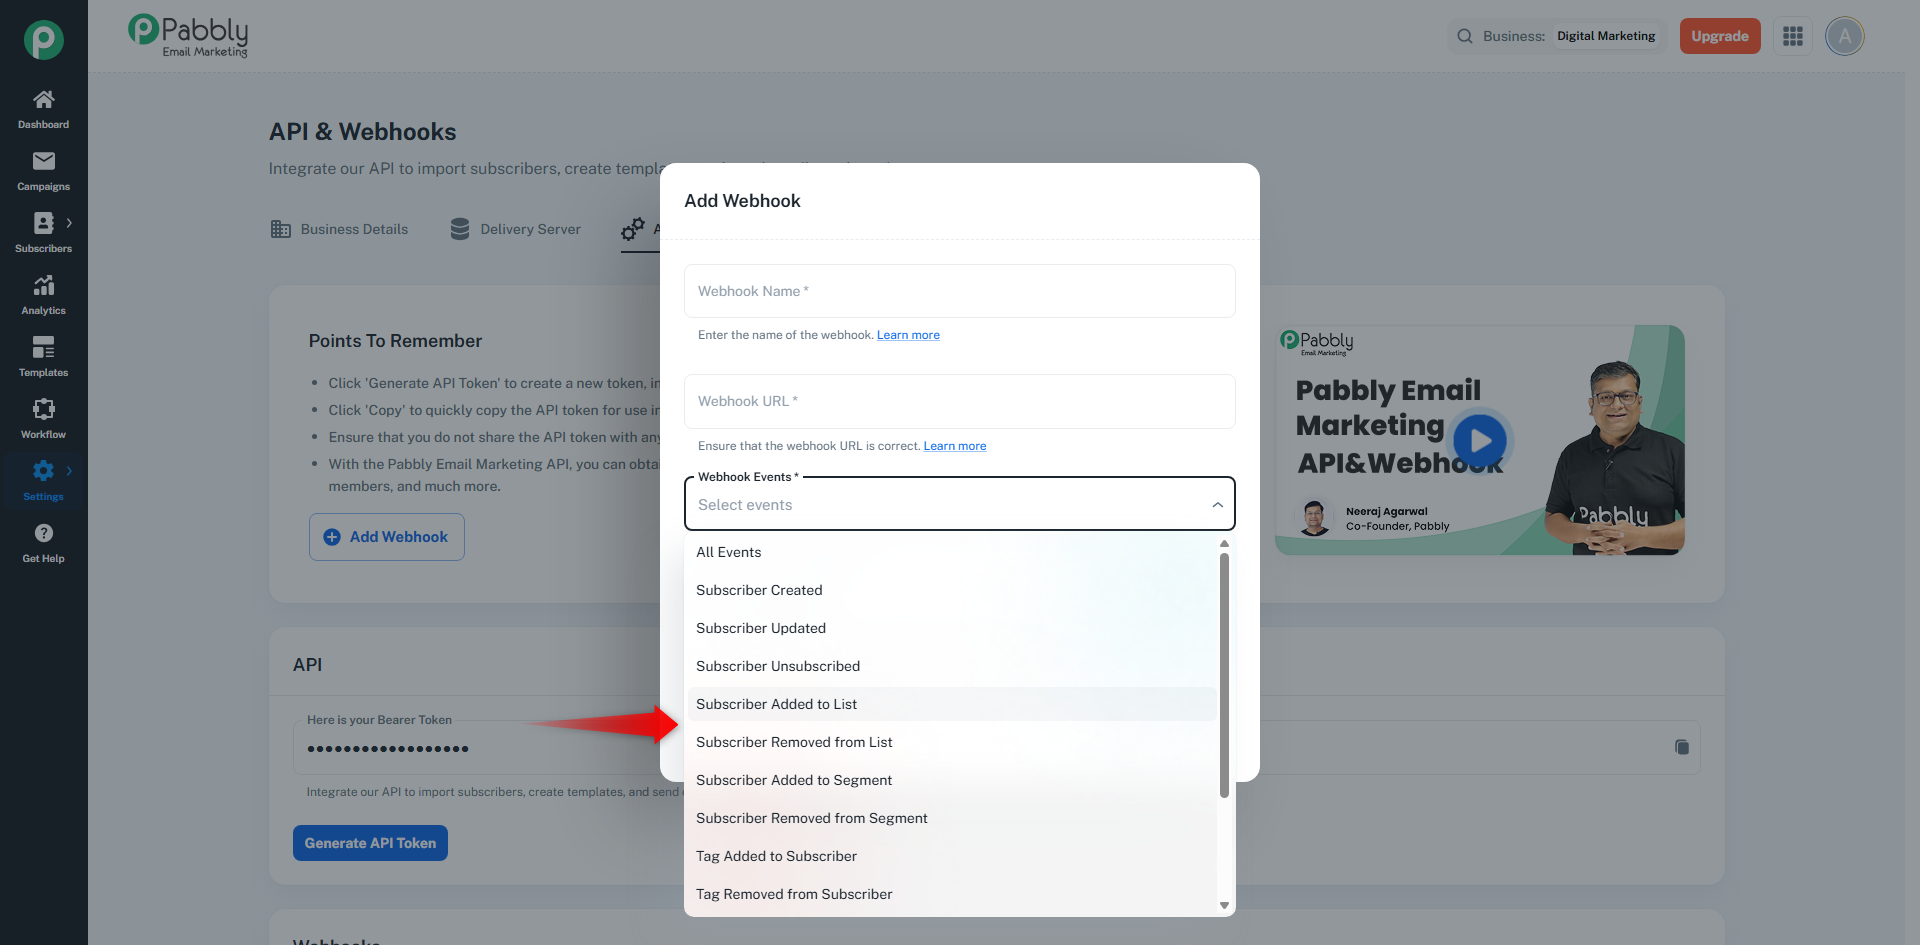
Select the events that should trigger this webhook
You can choose All Events or select specific events
Subscriber Created
Subscriber Updated
Subscriber Unsubscribed
Subscriber Added to List
Subscriber Removed from List
Subscriber Added to Segment
Subscriber Removed from Segment
Tag Added to Subscriber
Tag Removed from Subscriber
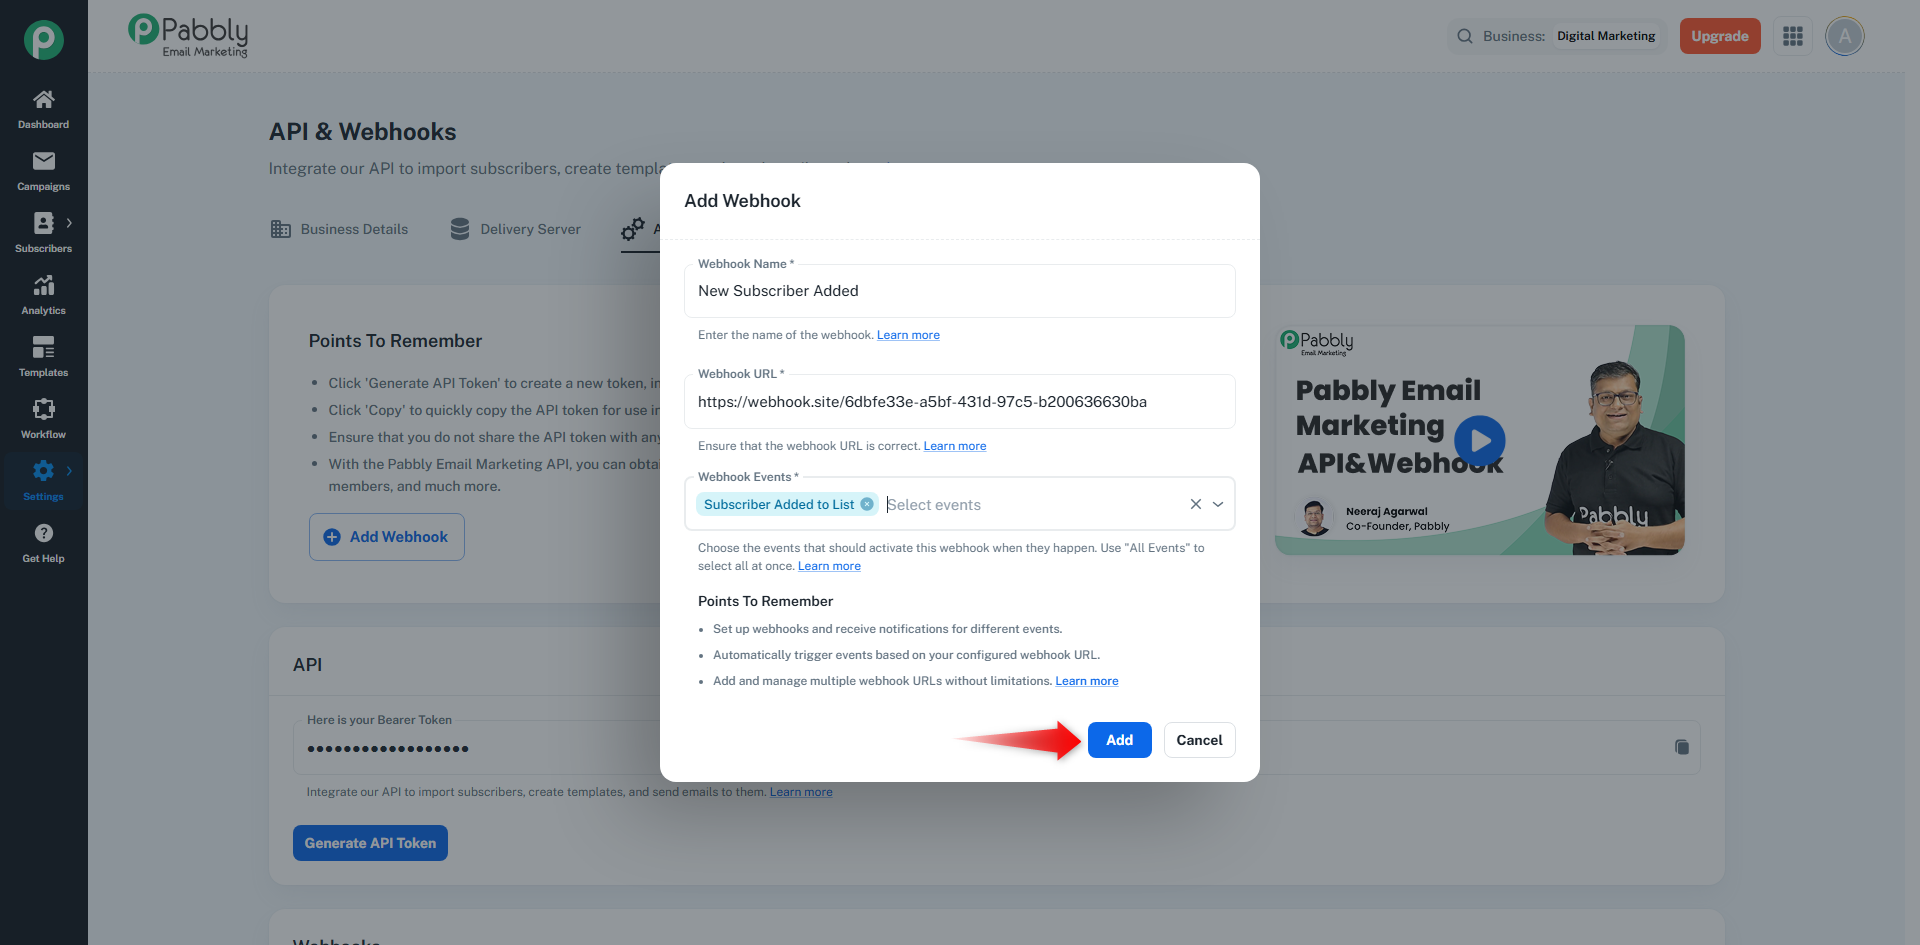
After filling in all the required details
Click on the Add button
The webhook will be successfully created
The newly added webhook will appear in the Webhooks list
You can see:
Webhook Name
Status (Active / Inactive)
Associated Events
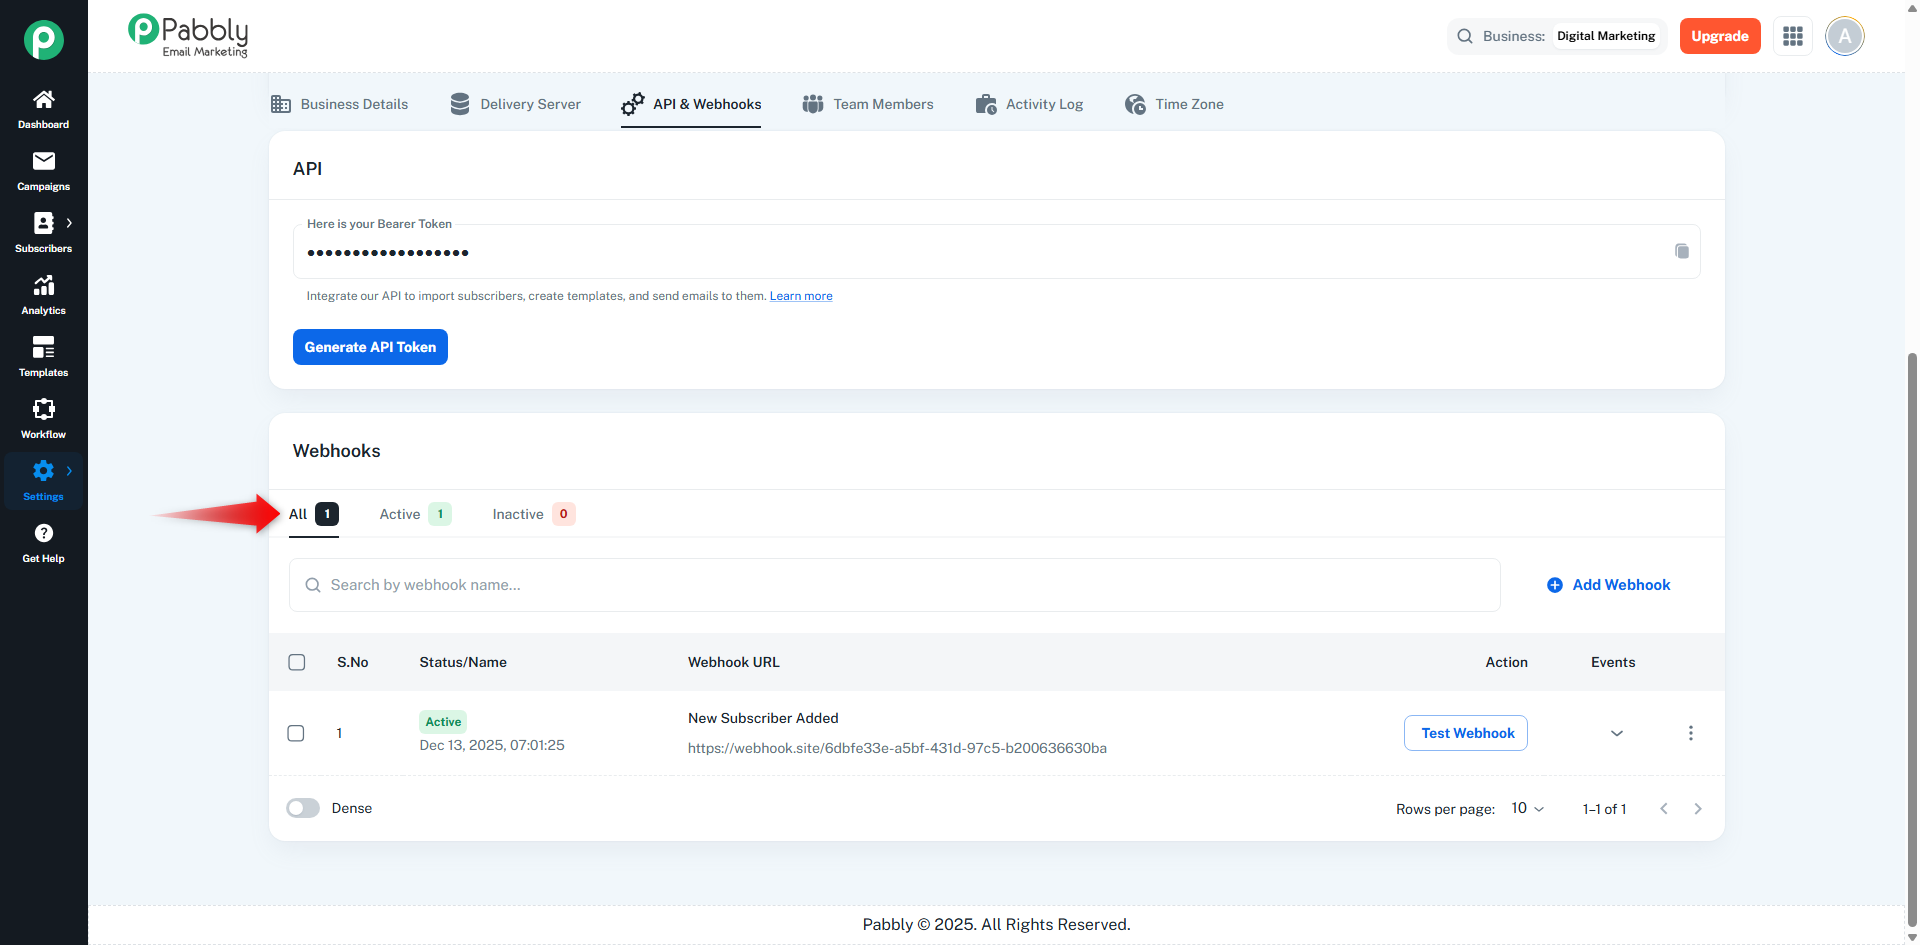
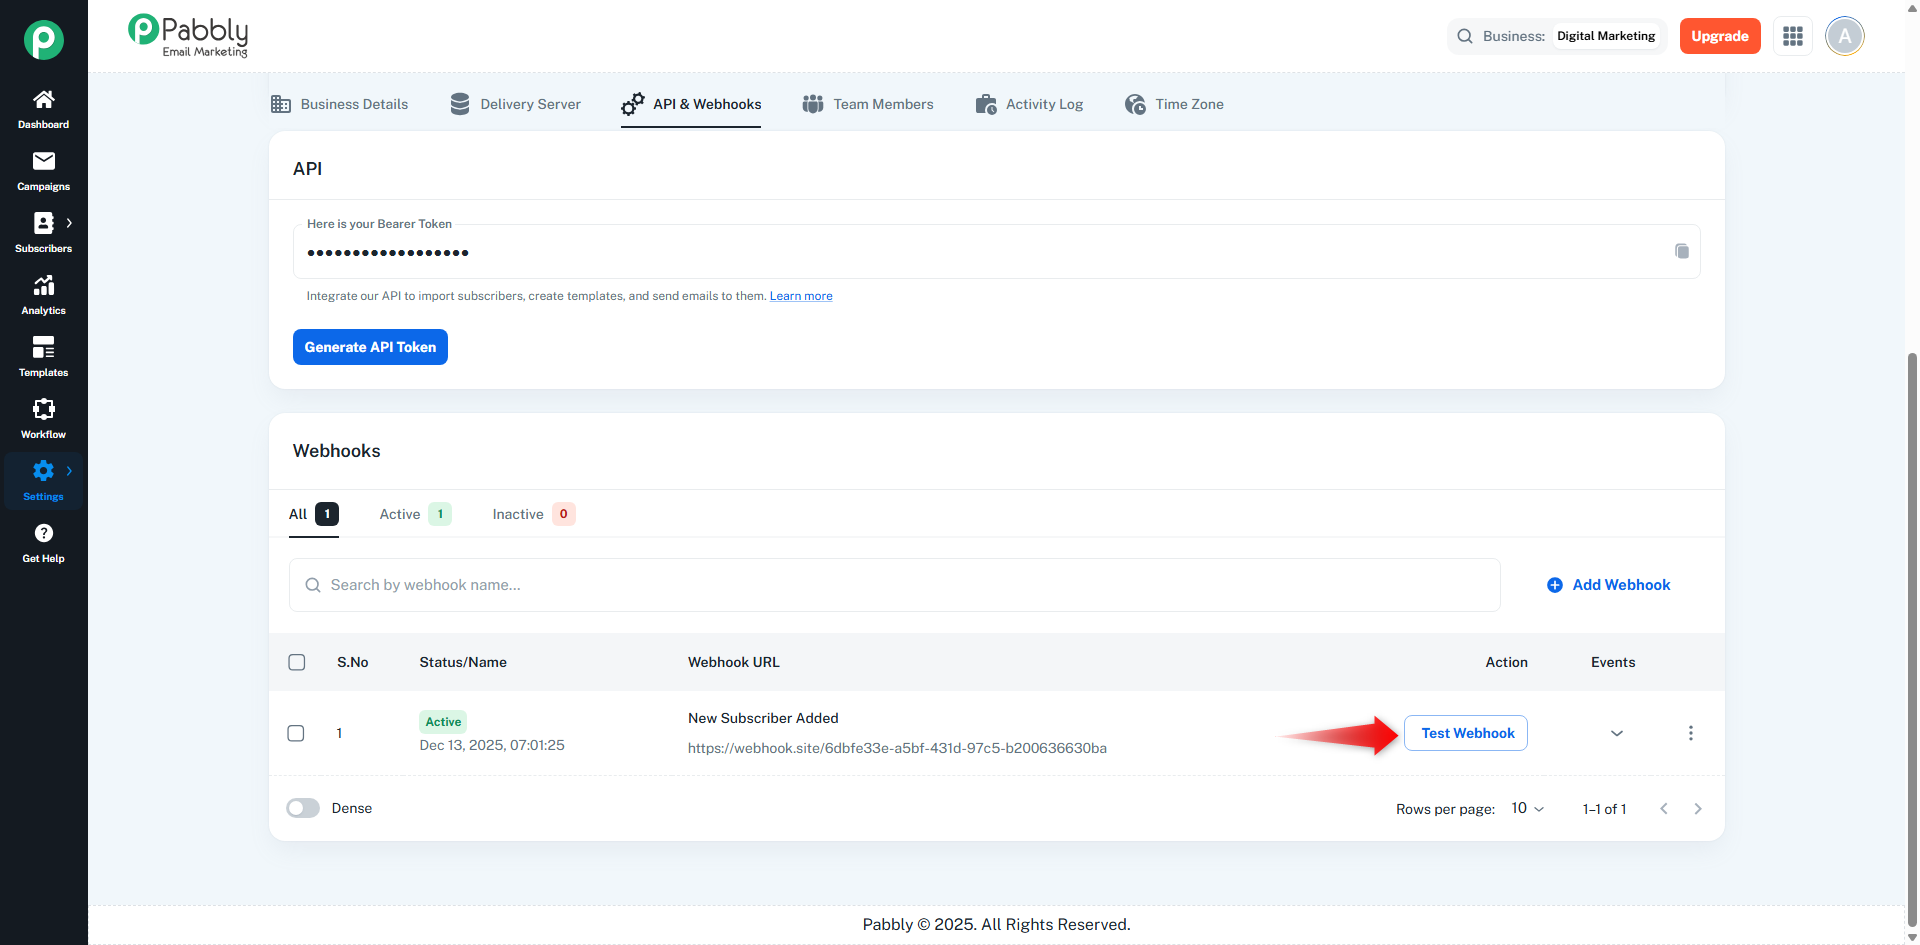
Click on the Test Webhook button next to the webhook
A sample payload will be sent to the webhook URL
Use tools like Webhook.site, RequestBin, or your server logs to verify data
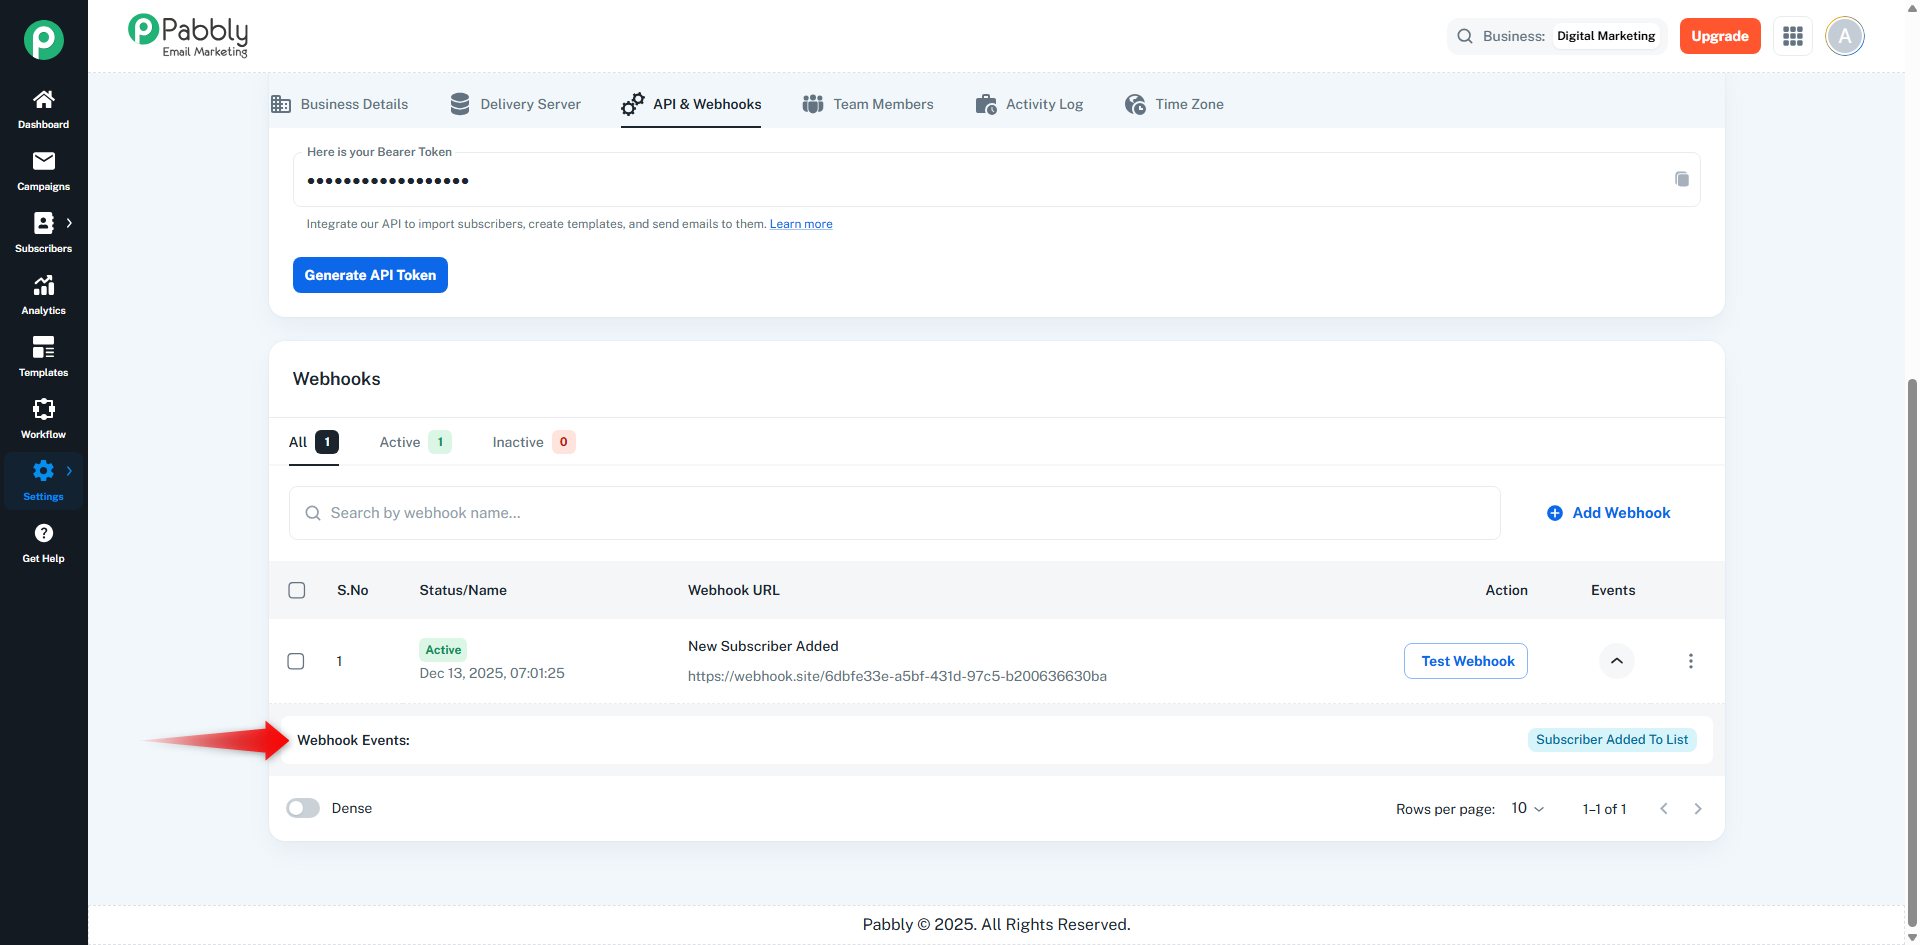
Click on the expand / dropdown icon next to the webhook
You can see the list of events associated with that webhook
{
  "status": "success",
  "message": "Sample webhook test data",
  "data": {
    "action": "test_webhook",
    "event": "Webhook Verification",
    "message": "This is a sample test payload to verify webhook functionality.",
    "status": "success",
    "source": "web",
    "timestamp": "2025-12-13T07:04:56.262Z",
    "requestId": "21qie8pv0py",
    "user": {
      "name": "Example Name",
      "email": "[email protected]",
      "role": "Administrator"
    },
    "metadata": {
      "ip": "172.51.55.69",
      "userAgent": "Mozilla/5.0 (Windows NT 10.0; Win64; x64) AppleWebKit/537.36 (KHTML, like Gecko) Chrome/143.0.0.0 Safari/537.36",
      "referrer": "https://emails.pabbly.com/"
    }
  }
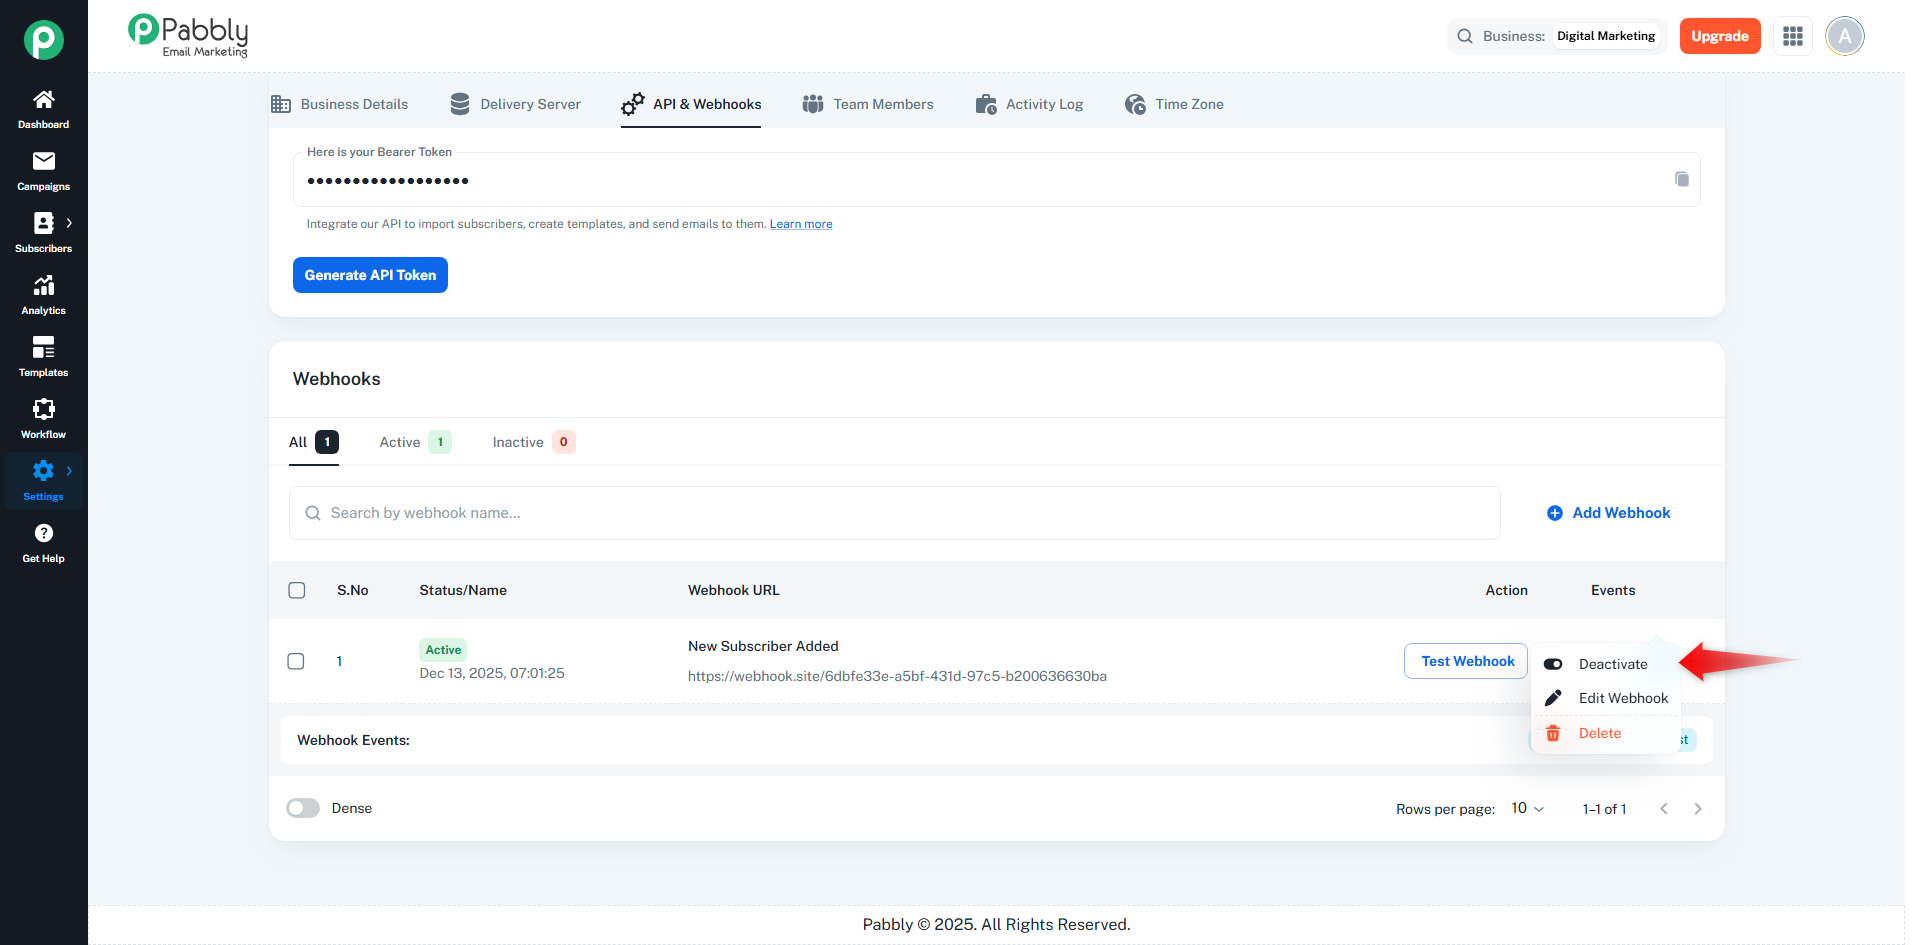
}Click on the three-dot menu next to the webhook
Choose one of the following actions:
Edit – Update webhook name, URL, or events
Deactivate – Temporarily stop webhook triggers
Delete – Permanently remove the webhook
Always test your webhook before using it in production
Ensure your webhook endpoint returns HTTP 200 OK
Handle duplicate webhook events safely
Keep webhook URLs secure
By following the above steps, you can:
✔ Generate and manage API tokens
✔ Securely authenticate API requests
✔ Receive real-time webhook notifications
✔ Easily add, test, update, or delete webhooks
✔ Automate workflows smoothly
