Automation Workflow
 Pabbly Email Marketing Team•Updated Oct 24, 2026•3 min read
The Automation Workflow Builder is a powerful tool that allows you to create, manage, and automate email workflows based on recipient responses such as opening an email or clicking a link. You can use action events and add delays between emails to create sophisticated automation sequences.
This guide explains how to manage workflows, create folders, and understand workflow stats.
When you open the Automation Workflows section, you will see a summary at the top:
Total Workflows – Total number of workflows created.
Active Workflow – The number of workflows currently running.
Executions Completed – Total tasks successfully executed.
Executions Delayed – Any workflows delayed due to conditions or limits.
On the left panel, you will also see the main navigation menu (Dashboard, Campaigns, Subscribers, Templates, Workflow, Settings, Get Help).
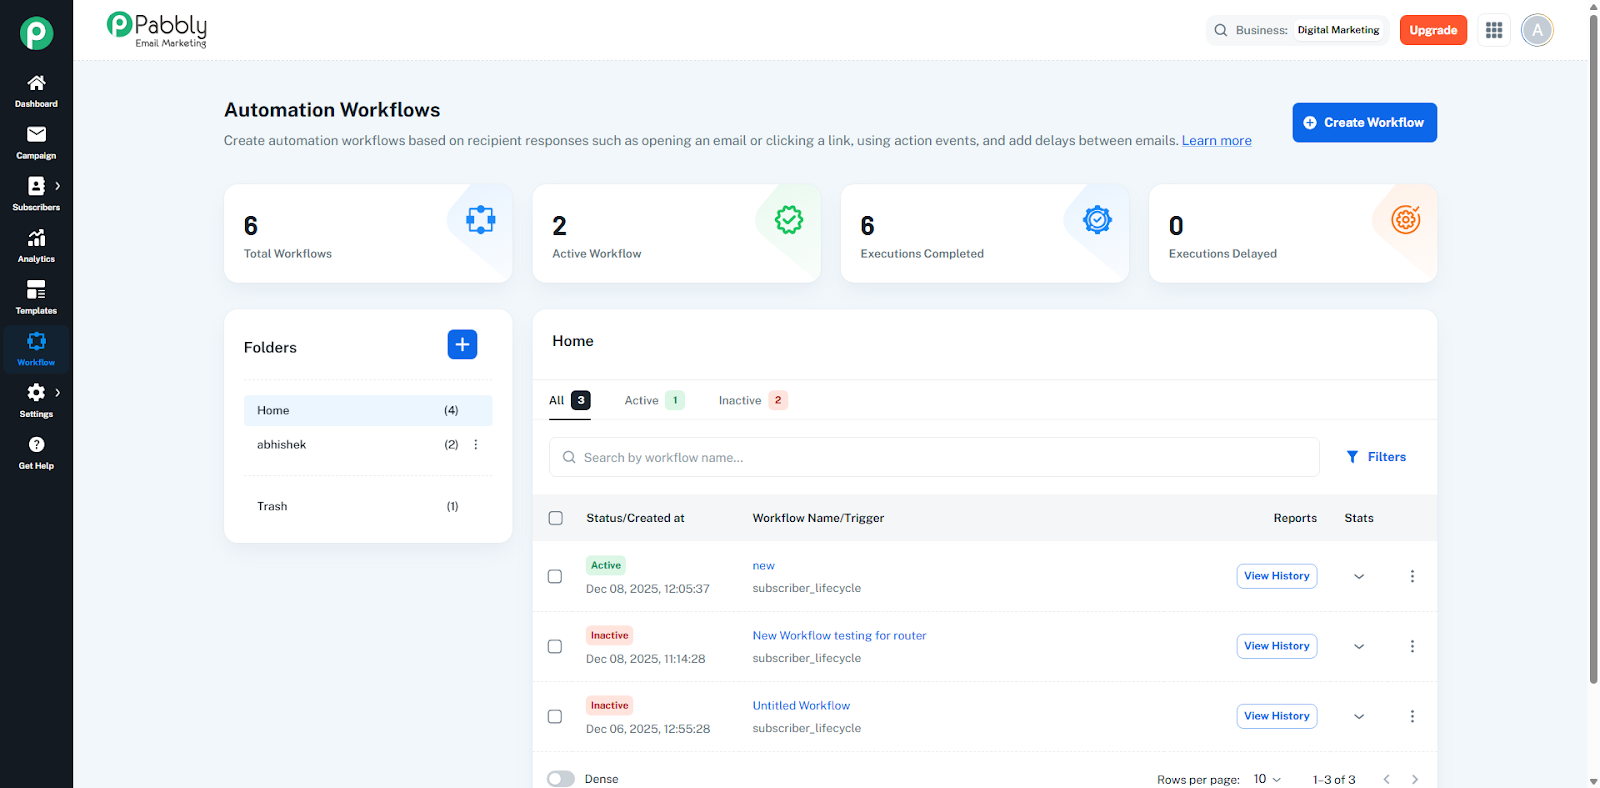
Folders help you organize multiple workflows for easy management.
Home – Contains all workflows created initially.
Trash – Deleted workflows appear here.
Custom folders created by you (ex: “New Folder”).
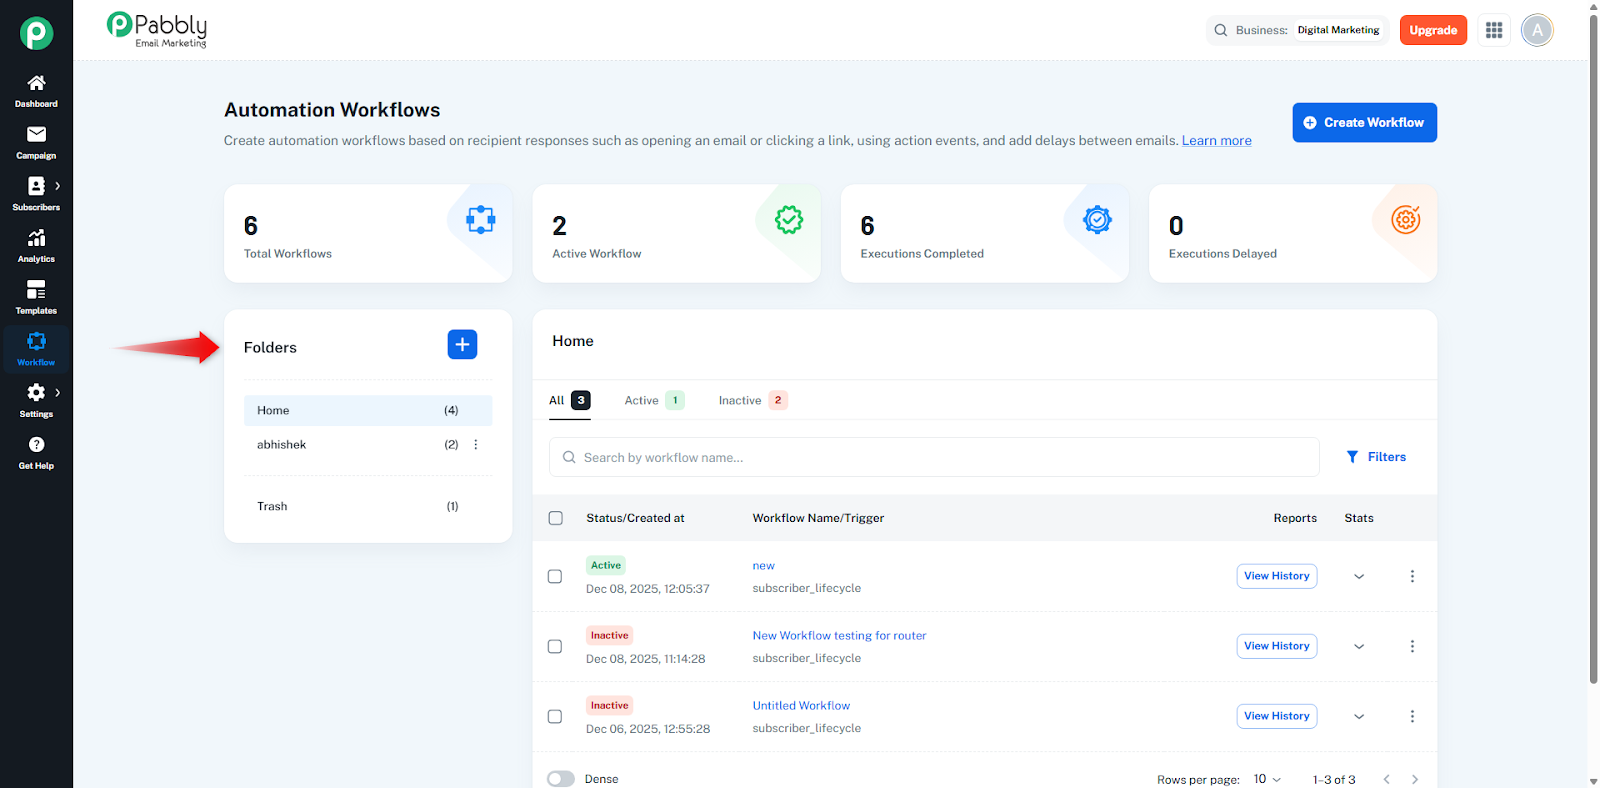
Go to the Folders section on the left side.
Click the + (plus icon) to create a new folder.
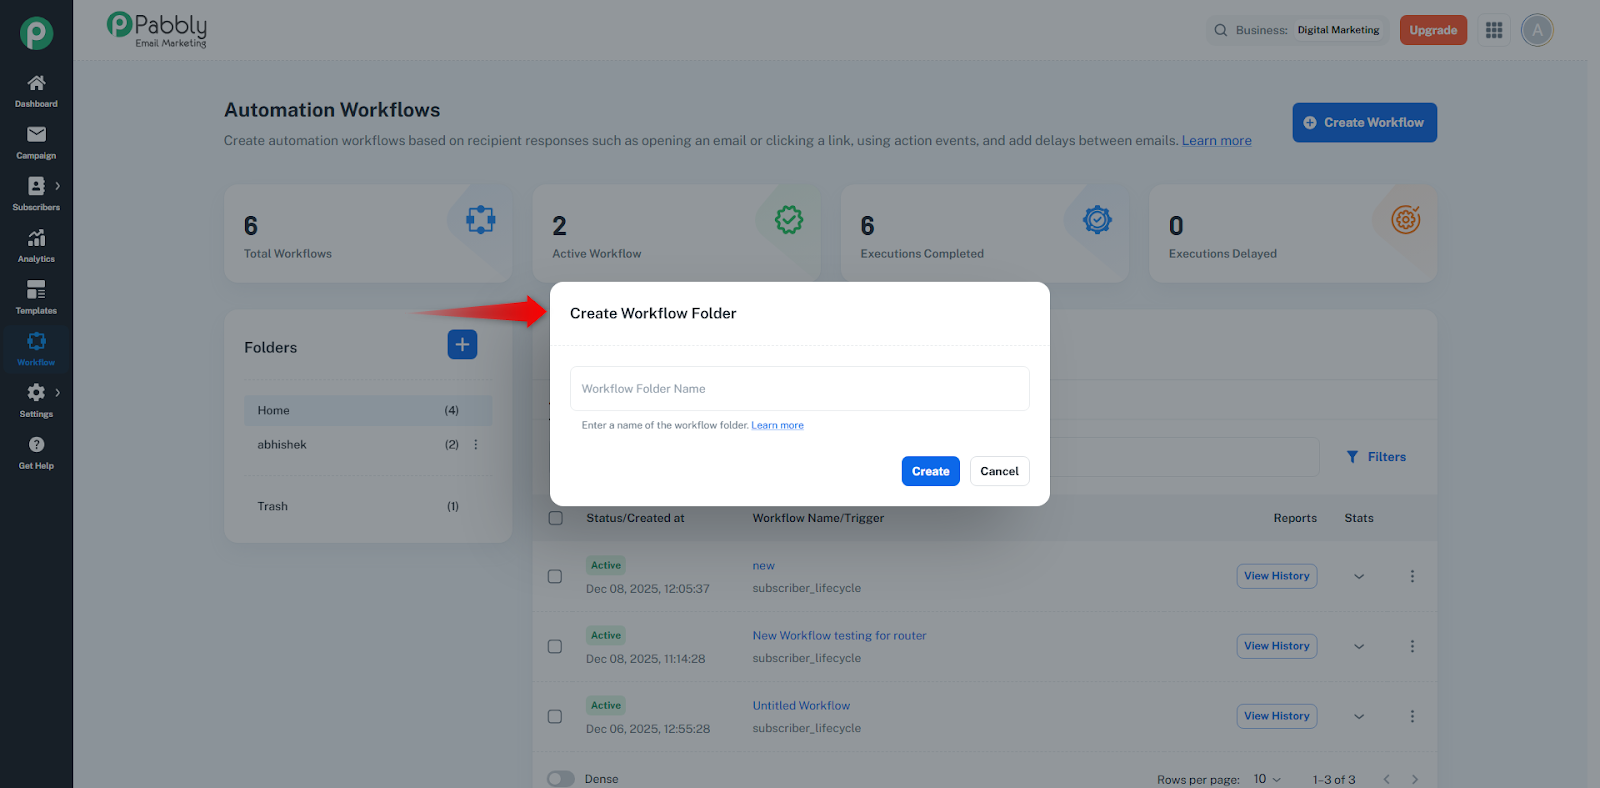
A popup will appear titled Create Workflow Folder.
Enter the folder name.
Click Create Folder.
This will add a new folder to your sidebar for organizing workflows.
Hover over the folder name.
Click the three-dot menu (⋮).
You will see two options:
Rename
Delete
Rename lets you update your folder name.
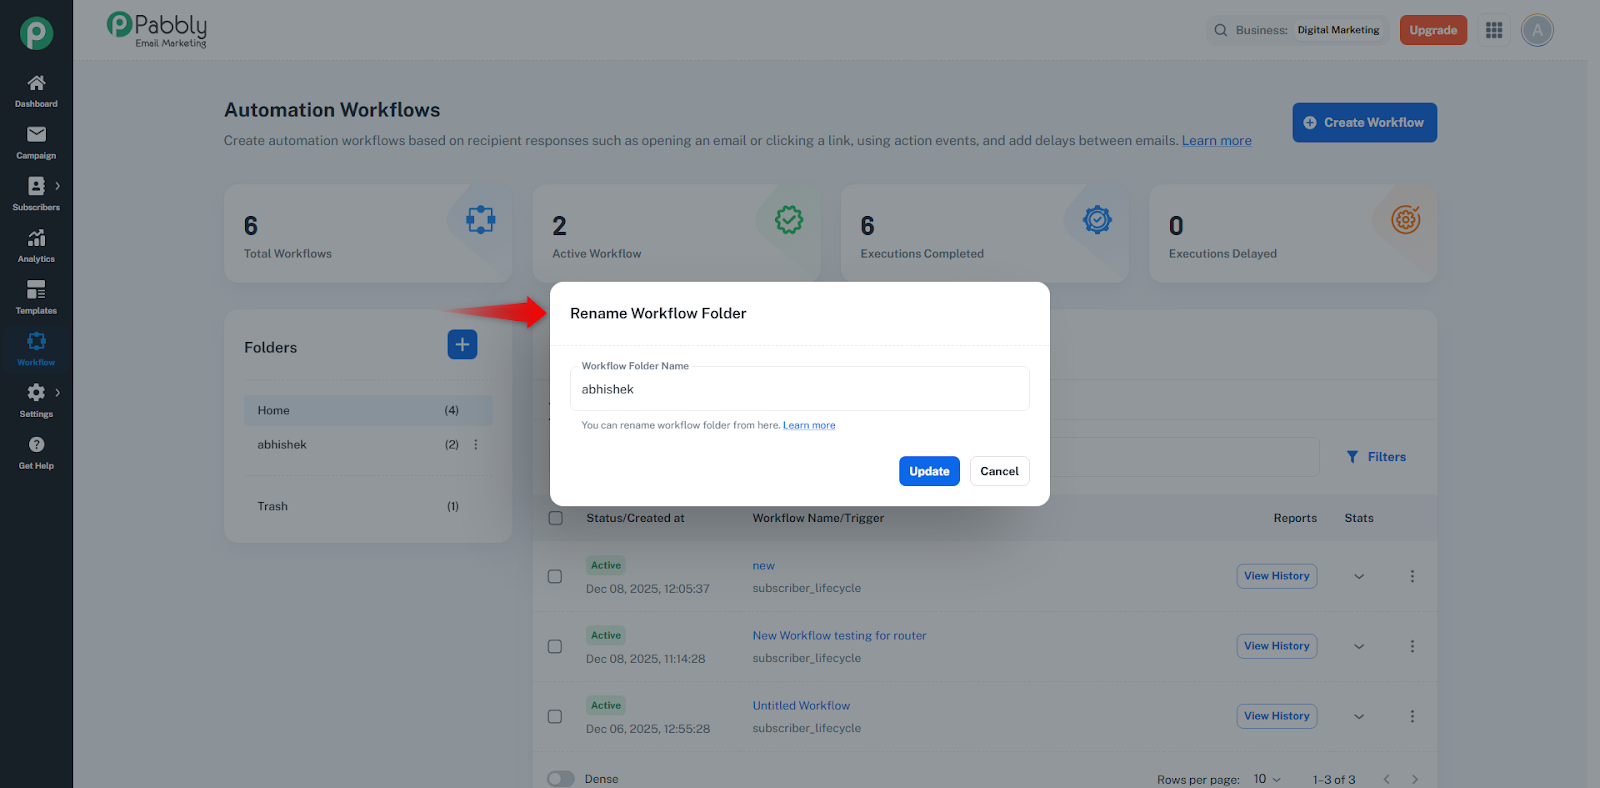
Delete moves the folder and all workflows inside it to Trash.
Under each folder, you will see the list of workflows with details:
Status / Created At
Workflow Name / Trigger Type
Reports
Stats
🟢 Active – Workflow is currently running.
🔴 Inactive – Workflow is paused.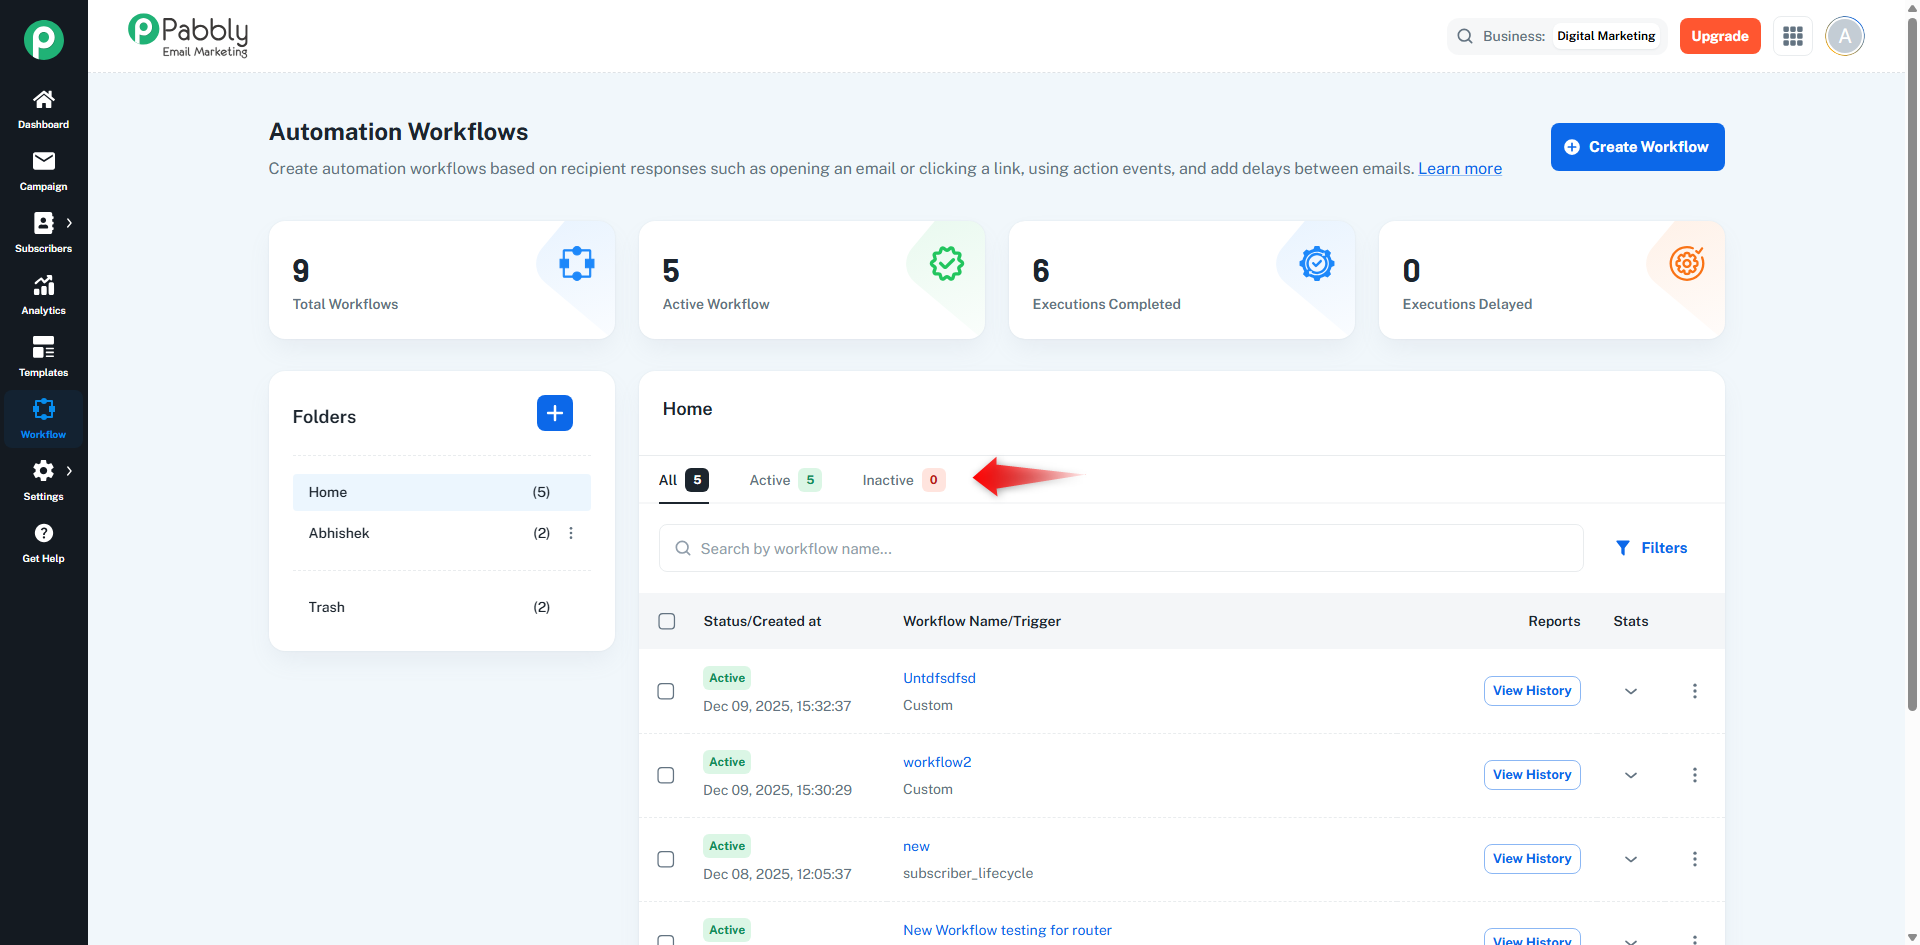
You can also search using the Search bar or filter using the Filters option.
Click the arrow under the Stats column to expand workflow performance details.
You will see:
Completed – How many actions were successfully performed.
Delayed – Whether any actions were postponed.
Failed – Any actions that could not be processed.
This helps you monitor workflow efficiency and troubleshoot issues.
For each workflow, you can:
Shows the complete execution timeline of your workflow.
Displays completed, delayed, and failed tasks.
Click the three dots to:
Edit workflow
Duplicate workflow
Move workflow to another folder
Delete workflow
At the bottom of the workflow list, you can toggle Dense View to:
Show more workflows at once in a compact layout.
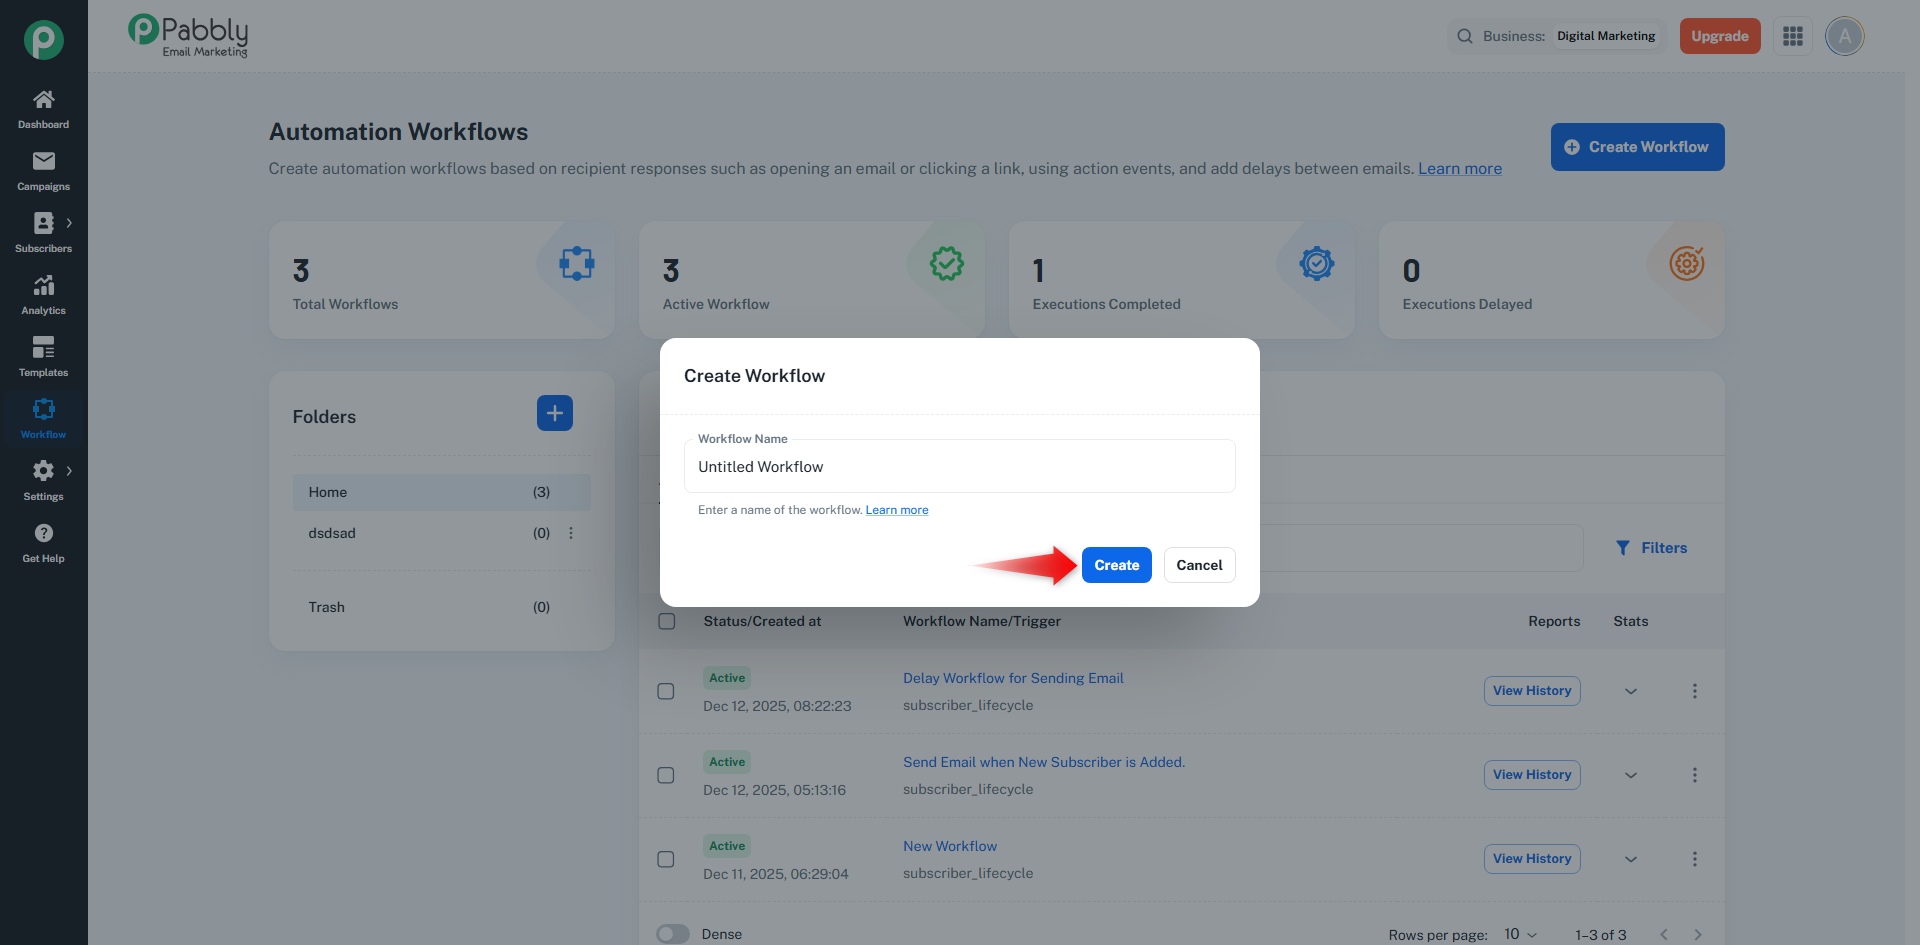
Click the "Create" button in the dialog.
The system will:
Validate the workflow name (checking for duplicates).
Navigate you to the workflow builder page.
Display a success message: "Workflow created successfully".
Error Handling
Duplicate Name: If a workflow with the same name already exists, you'll see an error message: "Workflow name already exists. Please choose a different name."
Empty Name: The workflow name field is required - you cannot create a workflow without a name.
Network Errors: If there's a connection issue, you'll see: "Failed to create workflow".
