Subscribers
 Pabbly Email Marketing Team•Updated Oct 24, 2026•1 min read
Tags are used to uniquely identify our subscribers.
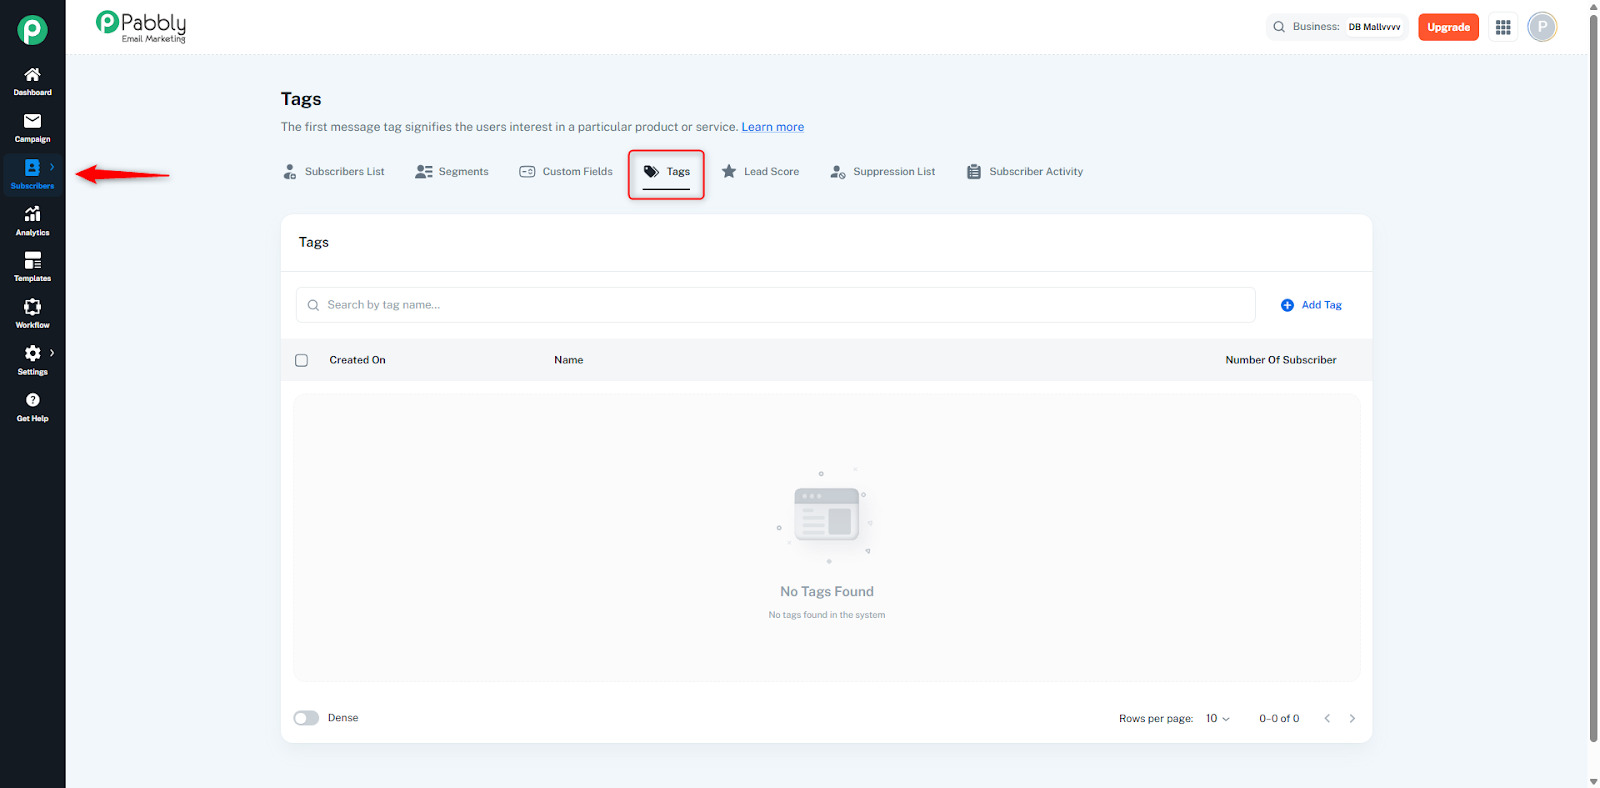
To create tags, we will click on the “Add Tag” button.
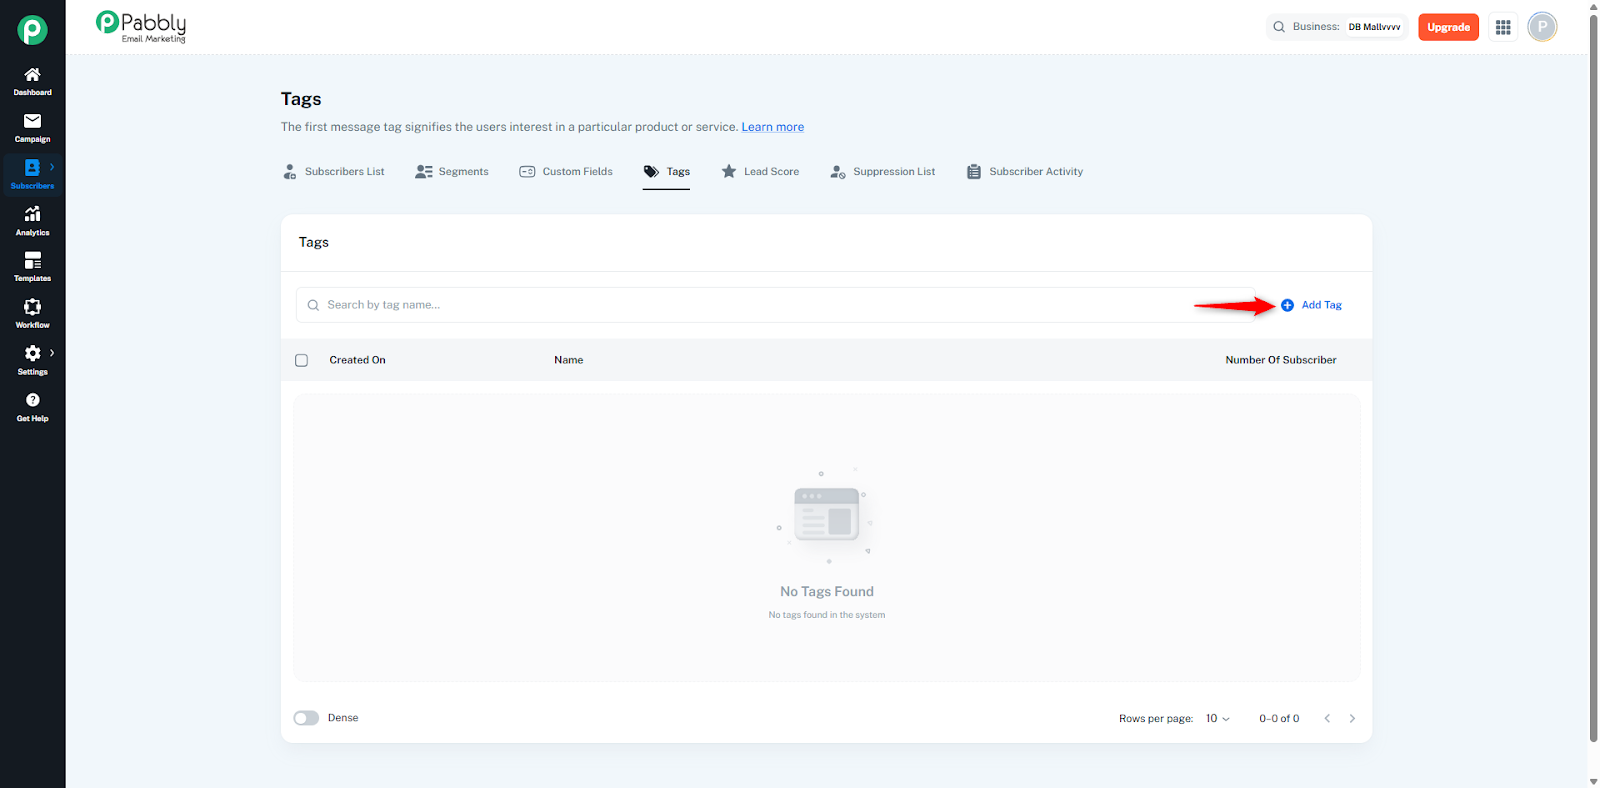
After clicking the “Add Tag” button, a dialog box will open. Enter the tag name you want to create, then click on the “Add” button.
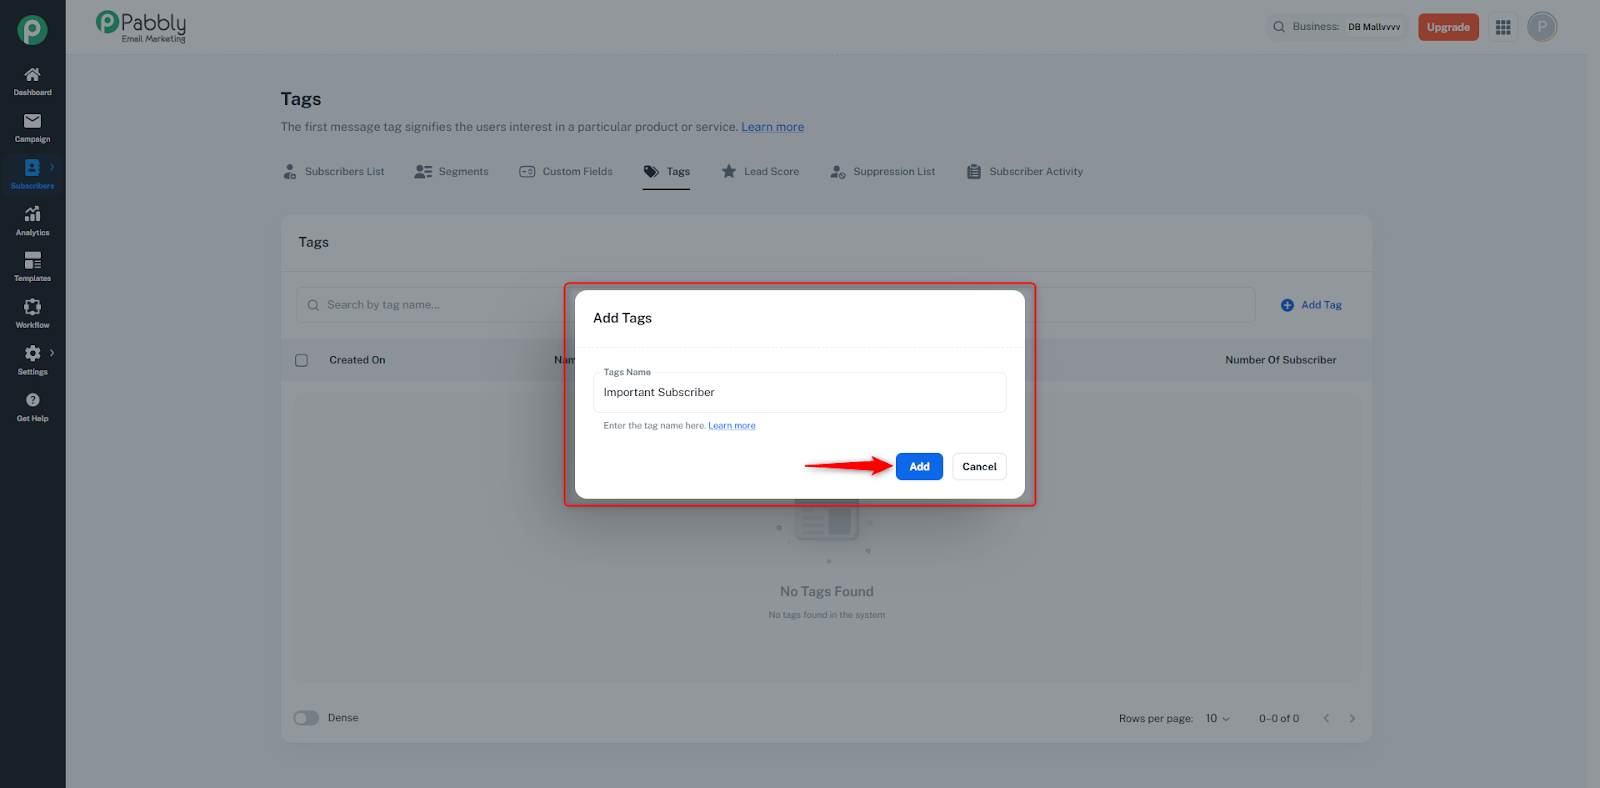
After that, the tag will appear in our table. Then we can use this tag for any subscriber.
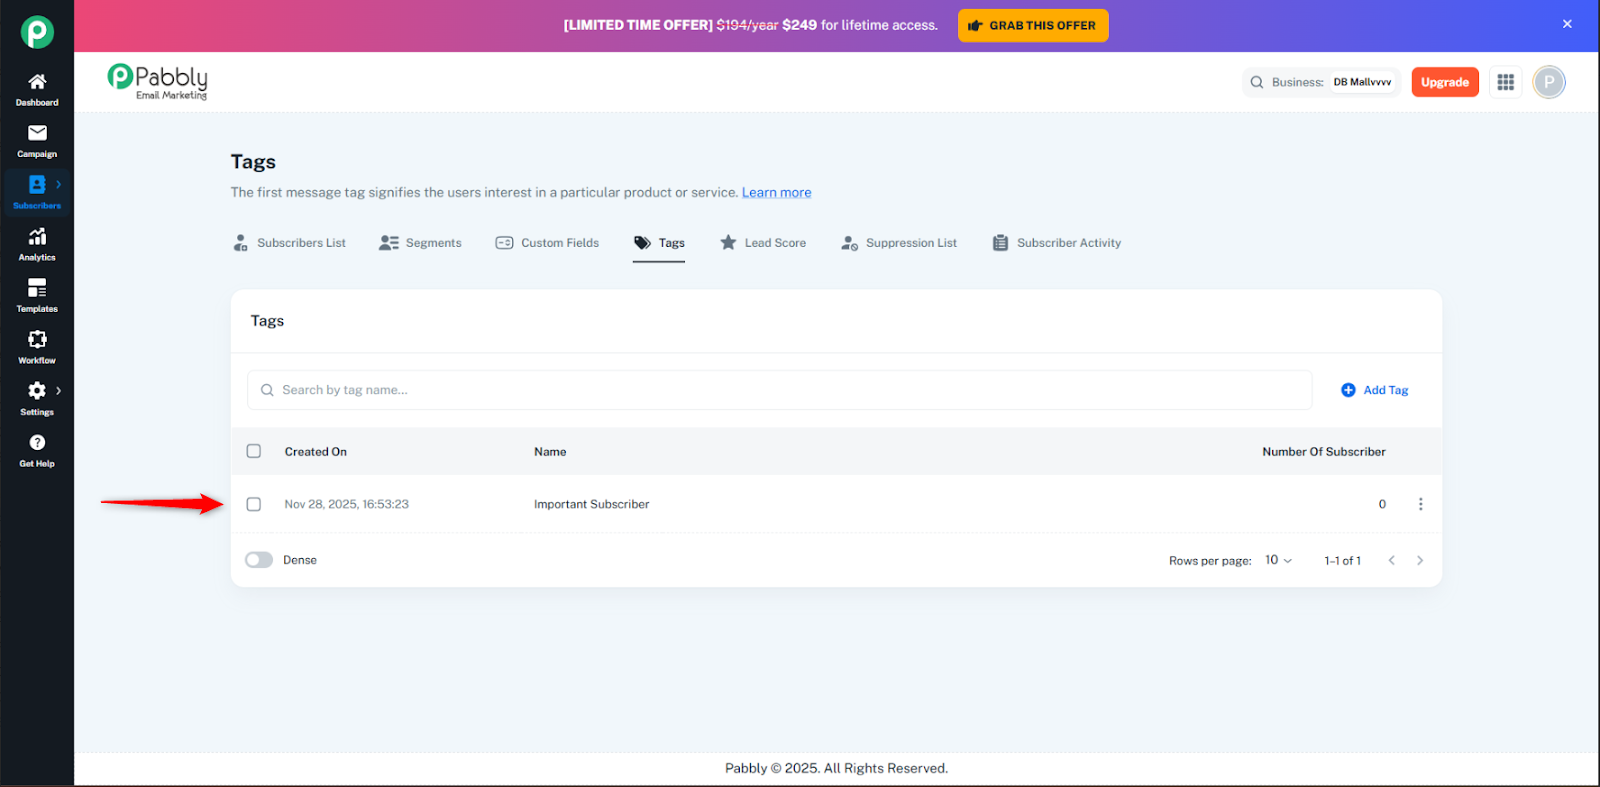
Created On shows the date and time when the tag was created.
The Name column displays the name of the tag.
Number of Subscribers shows how many subscribers have been assigned that particular tag.
Go to Subscribers → Add Subscriber.
Fill in the subscriber details like Name, Email, etc.
You will see a Tags option in the form.
Click on the Tags field and select the tag you want to assign.
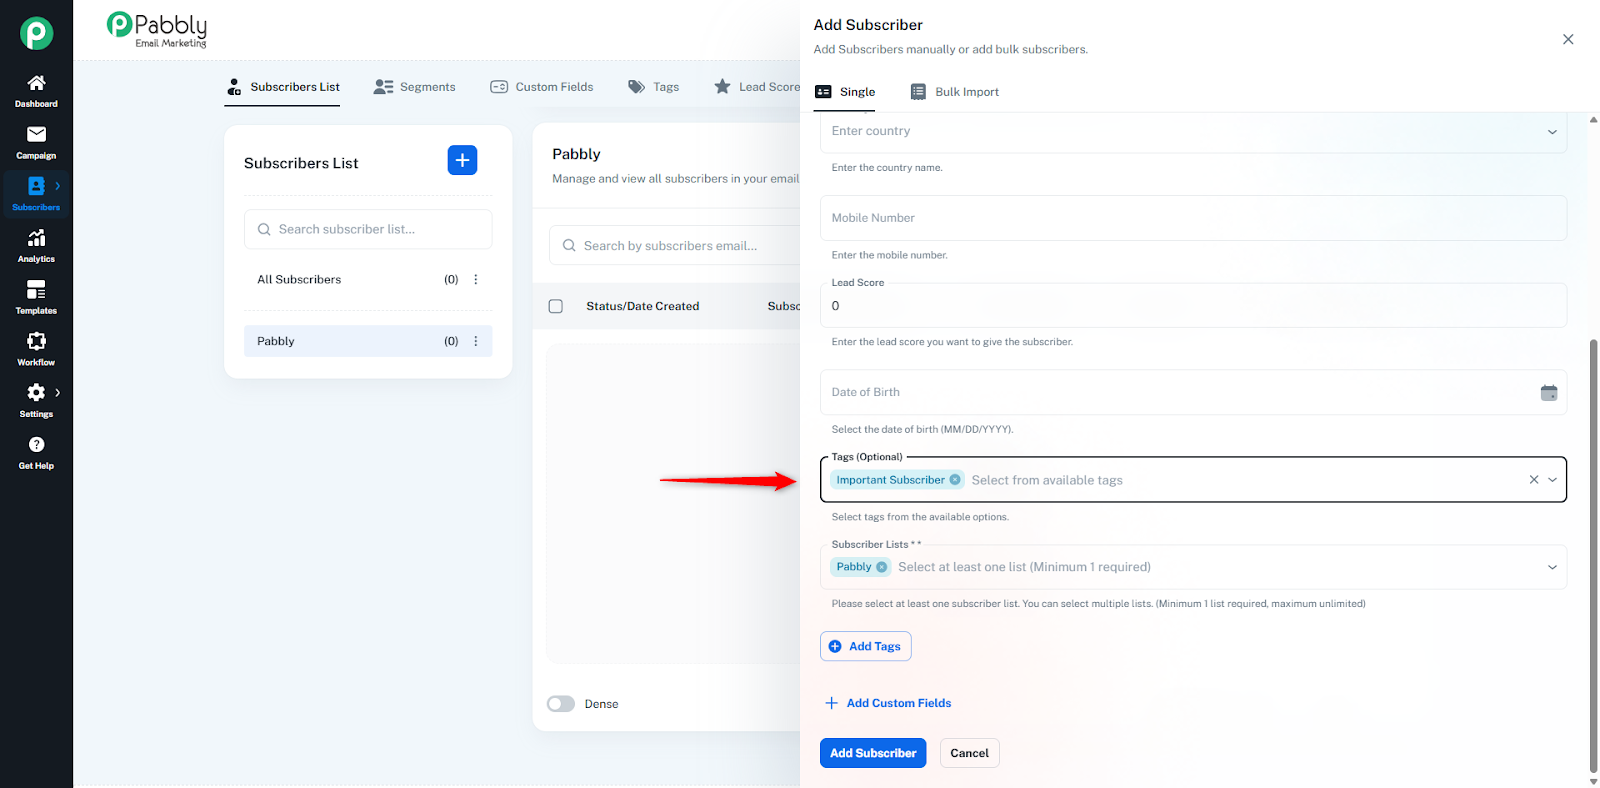
Now click on the Add Subscriber button.
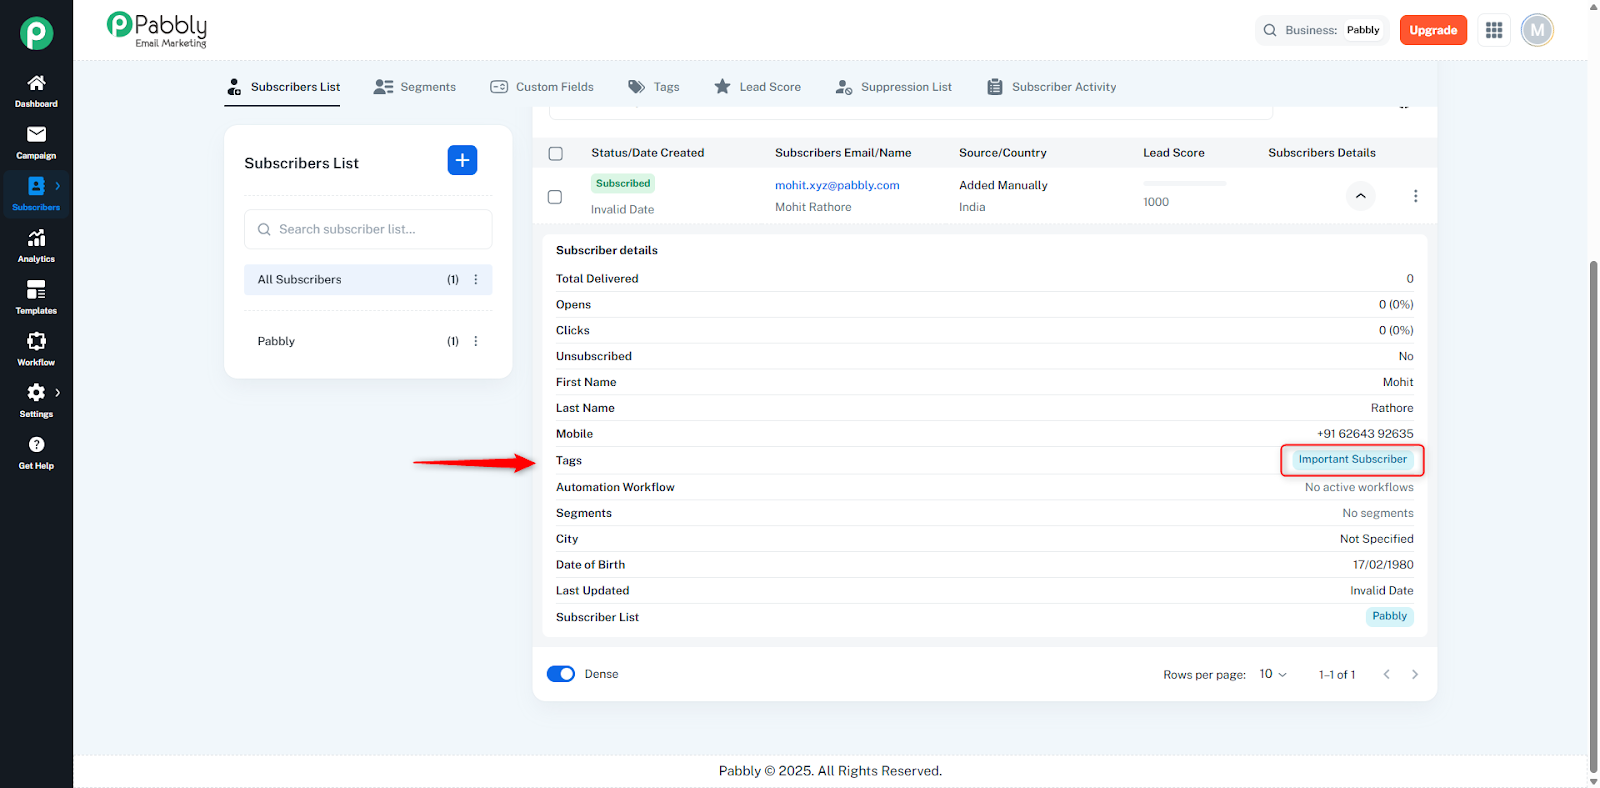
The selected tag will be automatically assigned to that subscriber.
Go to Subscribers List.
Search or select the subscriber to whom you want to assign the tag.
Click on the subscriber or open the action menu.
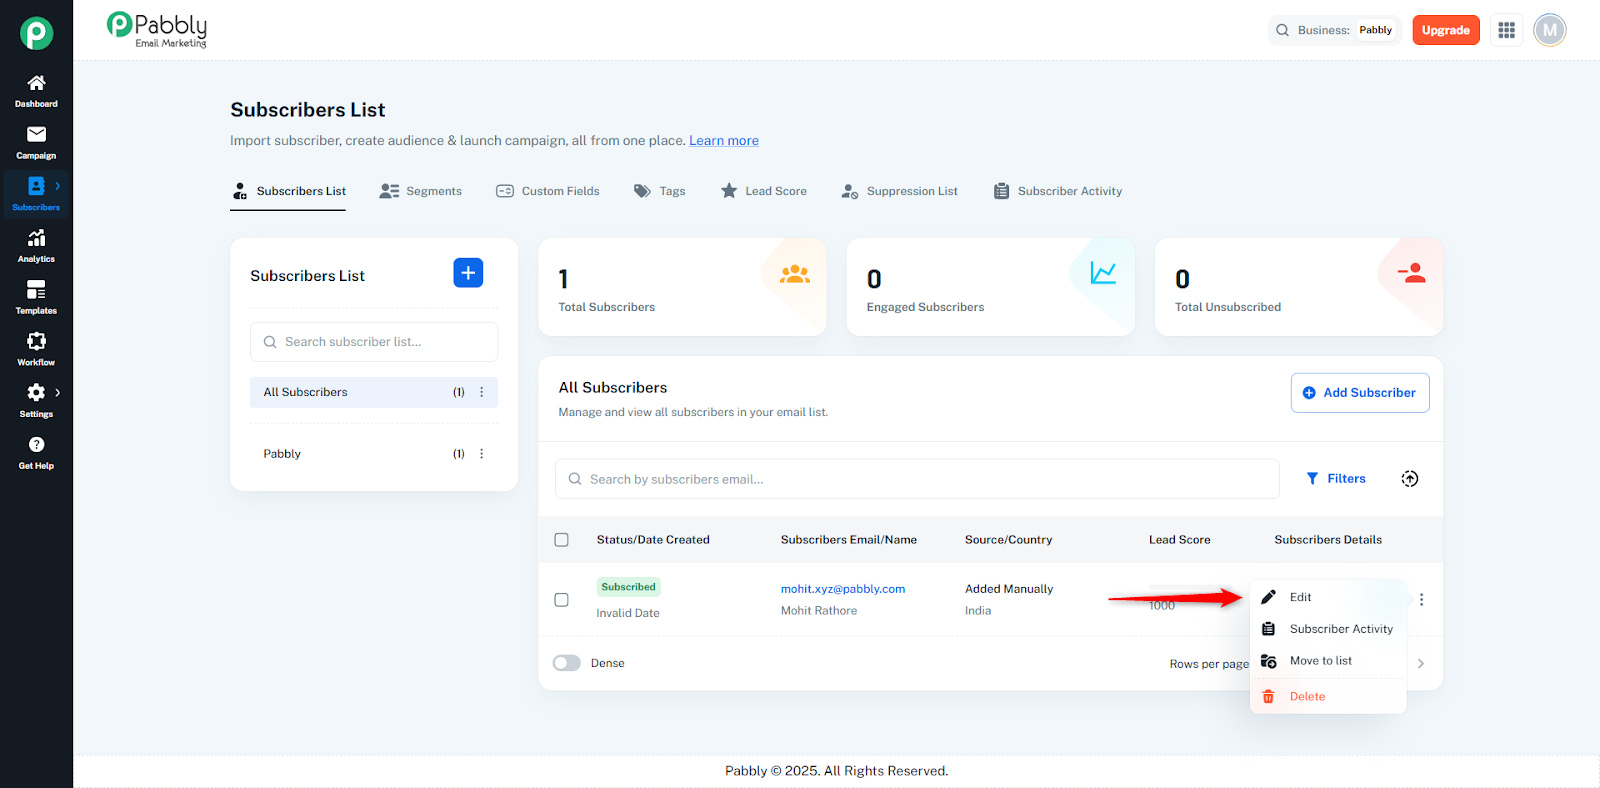
Find the Add Tags or Manage Tags option.
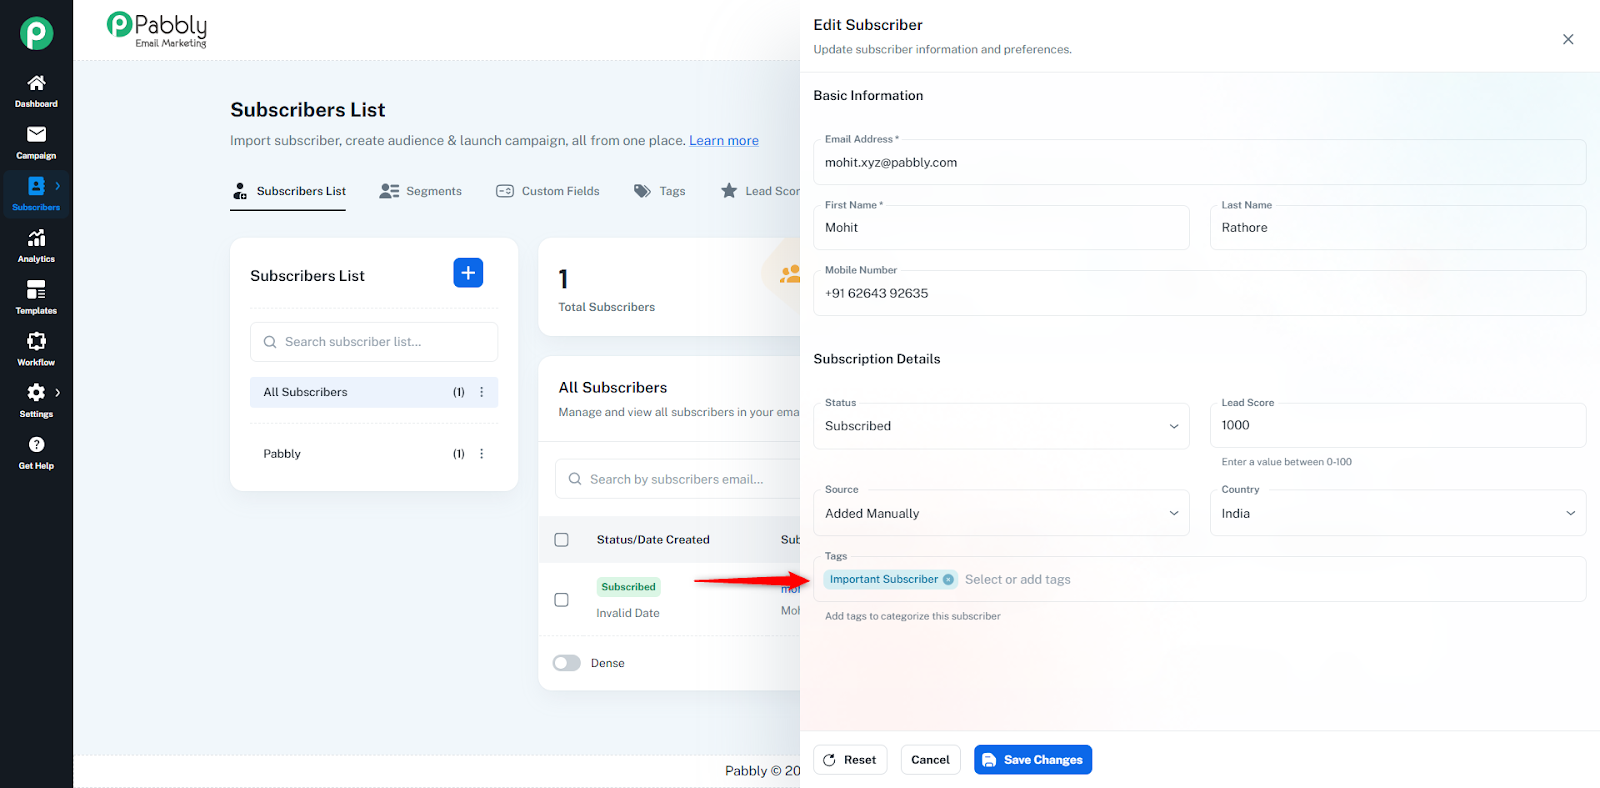
Select the tag you want to assign.
Click on the Save / Update button.
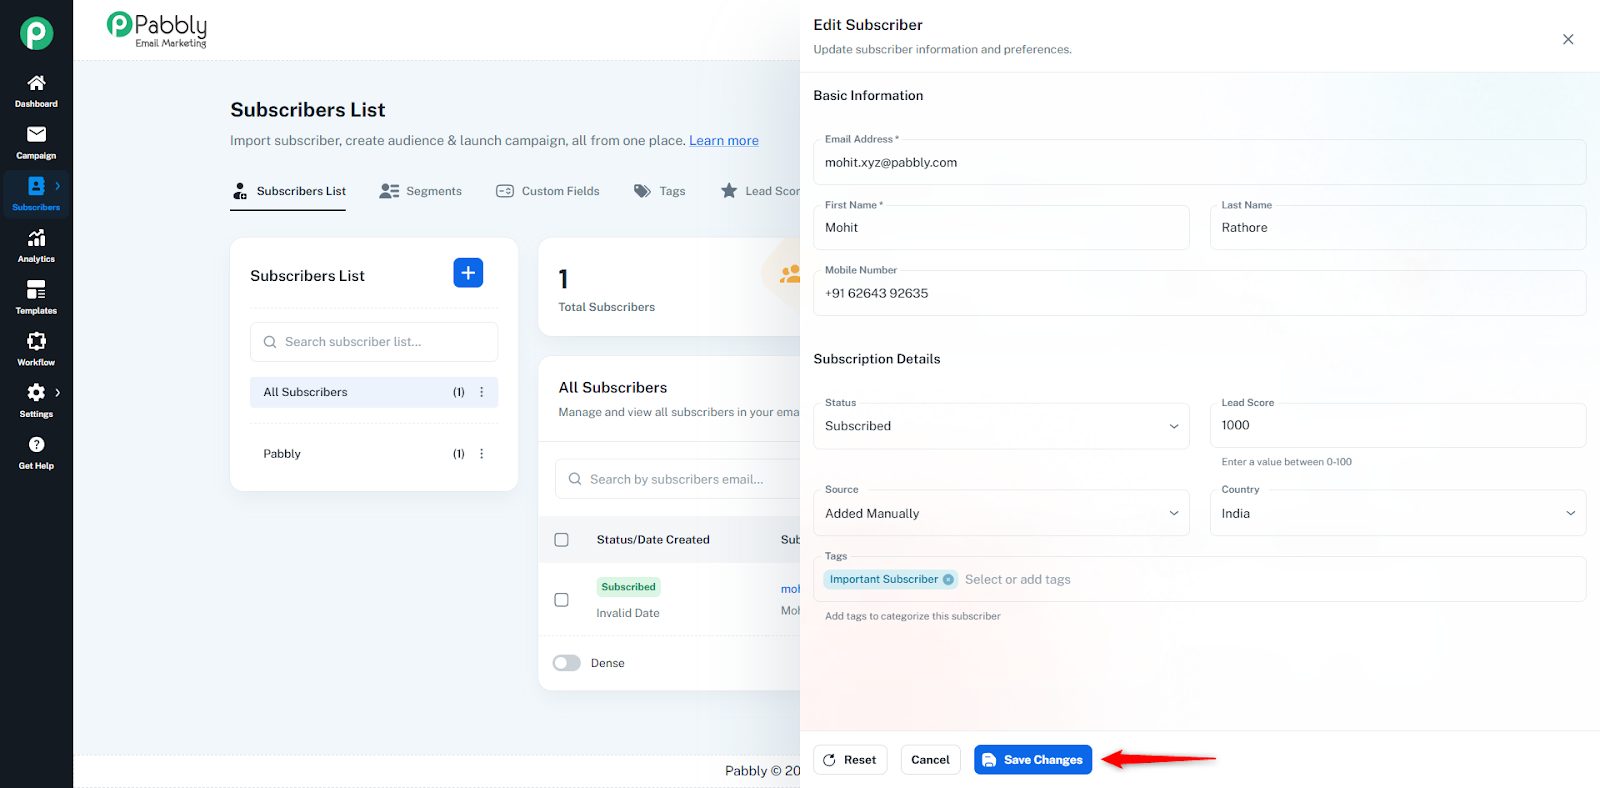
The tag will now be linked to that subscriber.