Help Guide
 Pabbly Connect Team•Updated Nov 2, 2026•4 min read
Describe your automation in Claude or ChatGPT, and the AI builds the workflow in your Pabbly Connect account. You don't need to open the workflow editor or map fields by hand.
What you need: a Pabbly Connect account, and a Claude or ChatGPT account that allows custom connectors.
Server URL:
https://connect.pabbly.com/backend/mcp
You can also find this URL in Pabbly Connect. On the Dashboard, click Connect an Agent, or open Create Workflow and choose Build Workflows with Claude or ChatGPT.
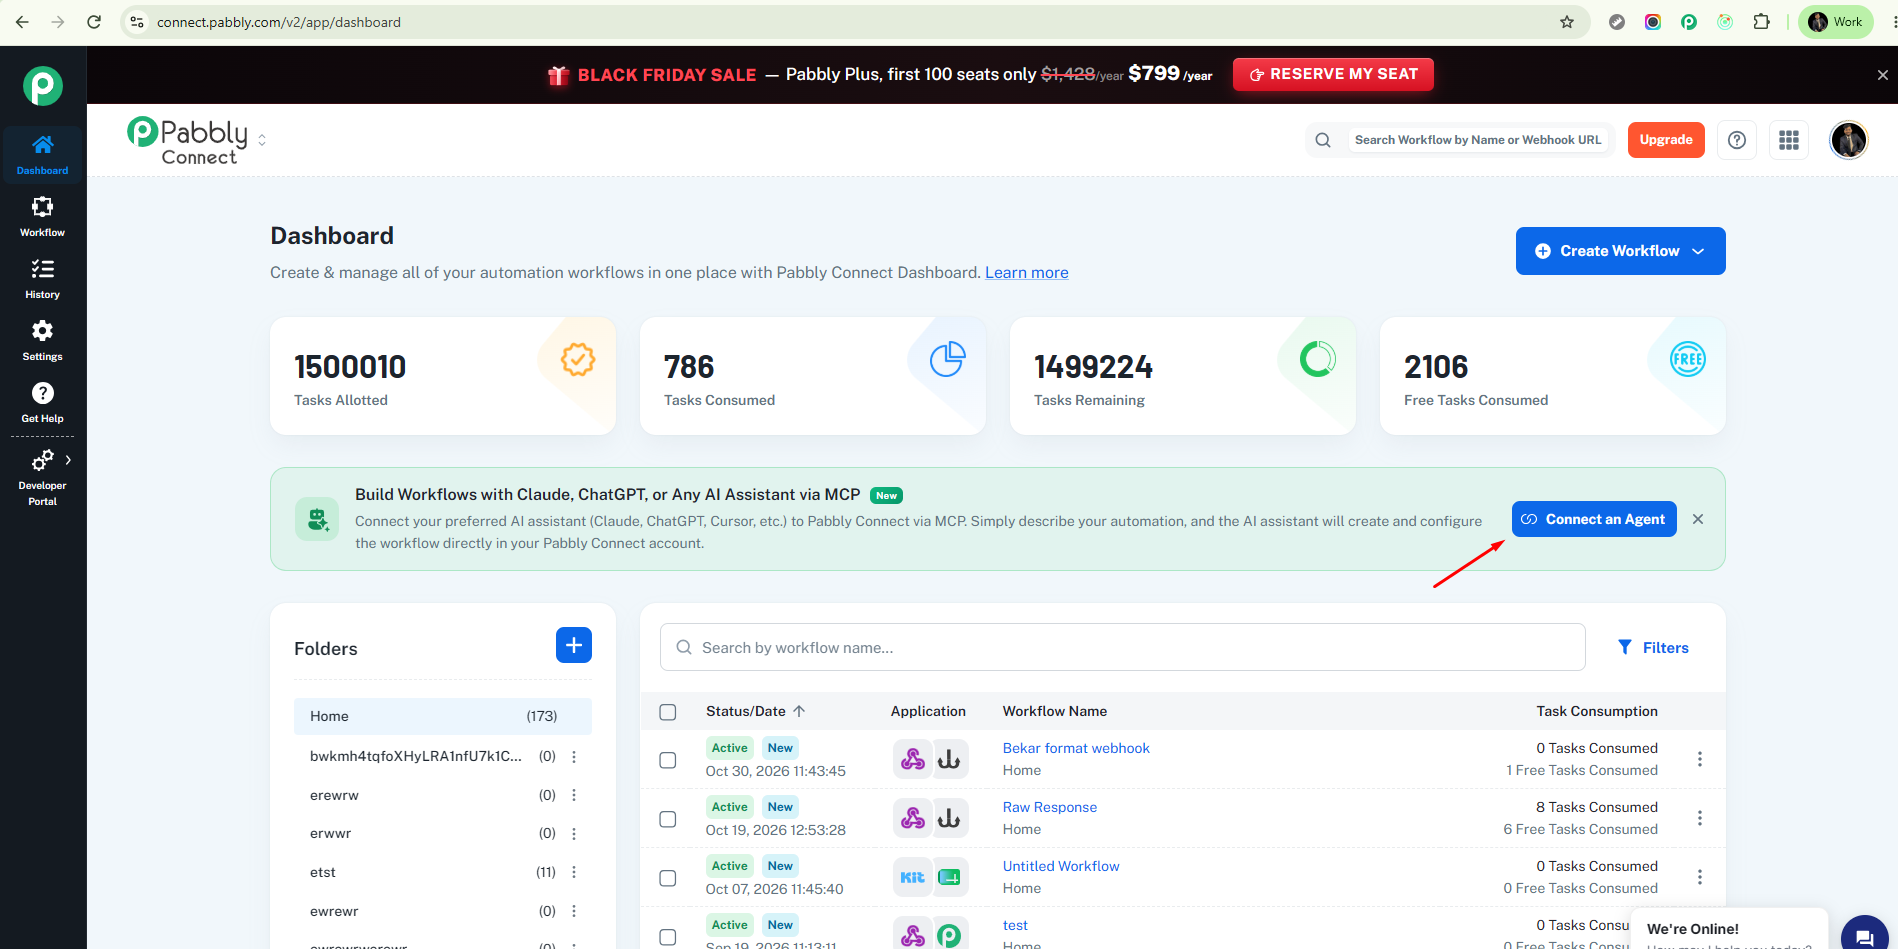
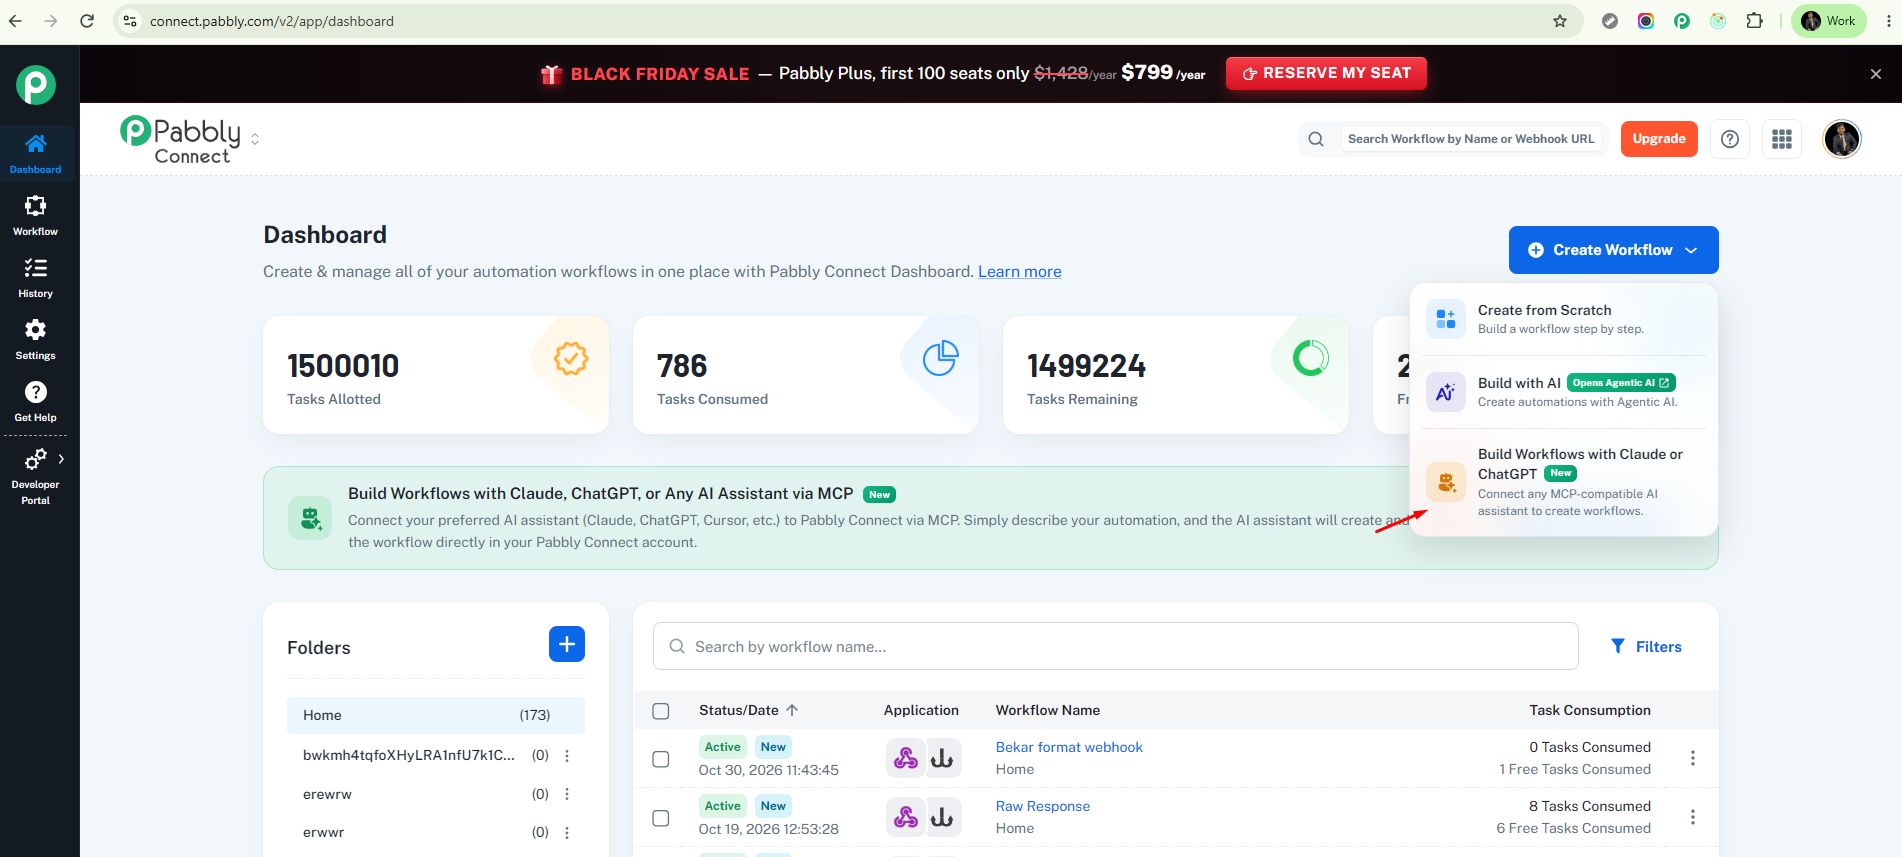
Copy the server URL above.
In Claude, open Customize → Connectors, or use this direct link.
Click + Add, then Add custom connector.
Name it Pabbly Connect Workflows, paste the URL, and click Add.
Click Connect. A Pabbly Connect page opens.
Sign in if asked, then click Allow.
Note: The Claude Free plan allows only one custom connector. To use this guide and the other connectors together, you need a paid plan. On Team and Enterprise plans, an owner adds the connector first.
Use ChatGPT in your browser for this setup.
Copy the server URL above.
Open Settings → Security and login and turn on Developer mode.
Open Settings → Plugins and click Create.
Name it Pabbly Connect Workflows, paste the URL, choose OAuth, and save.
Click Connect. A Pabbly Connect page opens.
Sign in if asked, then click Allow.
Start a new chat and turn on the Pabbly Connect Workflows plugin for that chat.
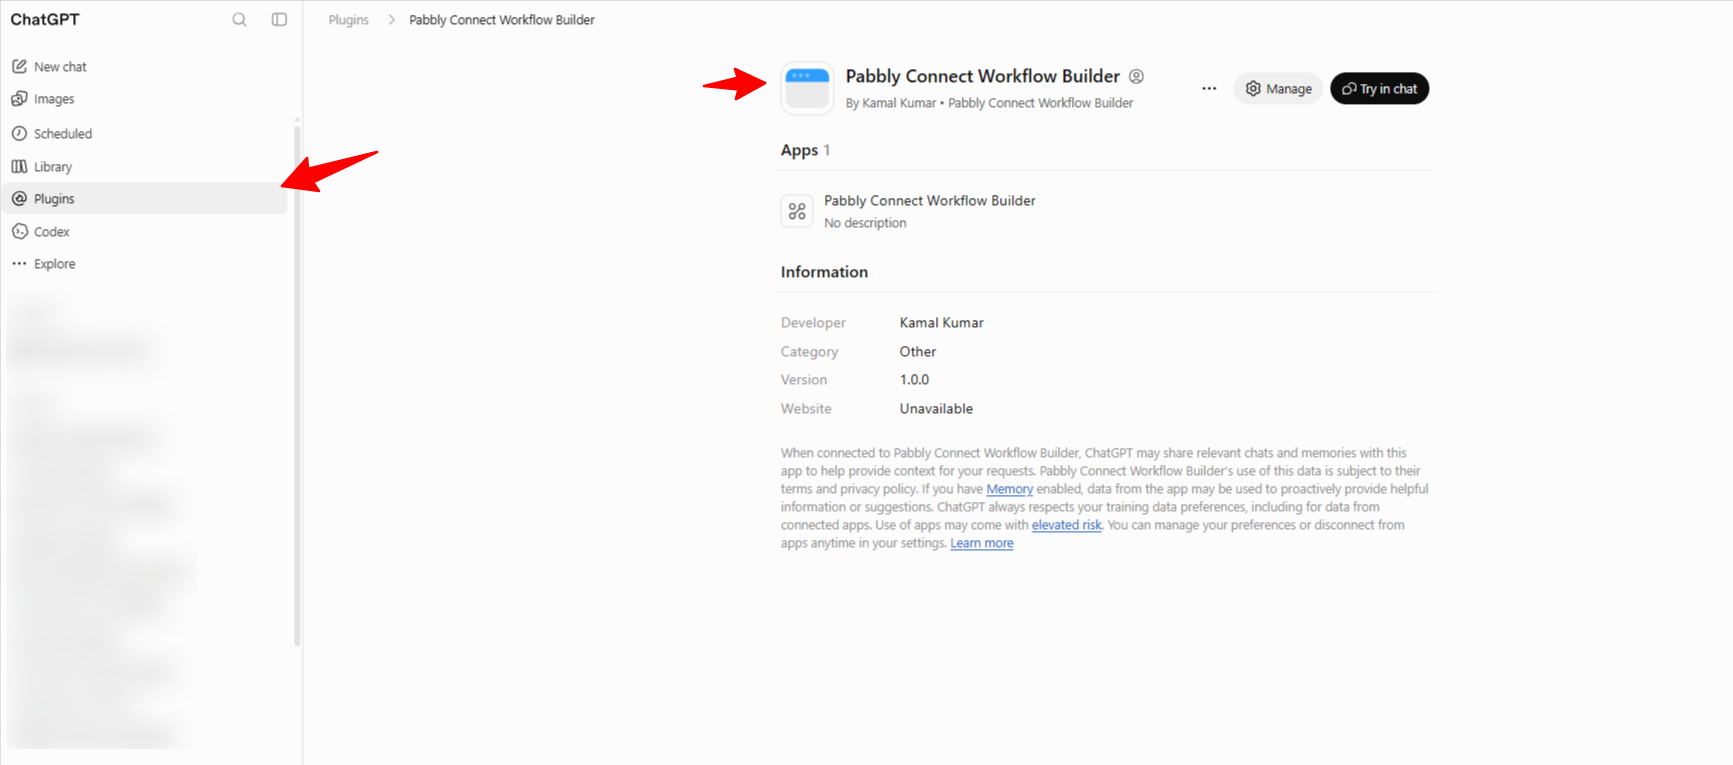
Note: You must turn on the plugin in each new chat. If you don't, ChatGPT can't see your Pabbly Connect account.
Start a new chat and say what should happen, in plain words. Name the apps, and say what starts the workflow and what it should do next.
Example prompts:
When a new row is added in Google Sheets, send a message in Slack.
When someone fills my Typeform, add them to Mailchimp and email me their details.
Every Monday at 9 AM, send a reminder in my Slack channel.
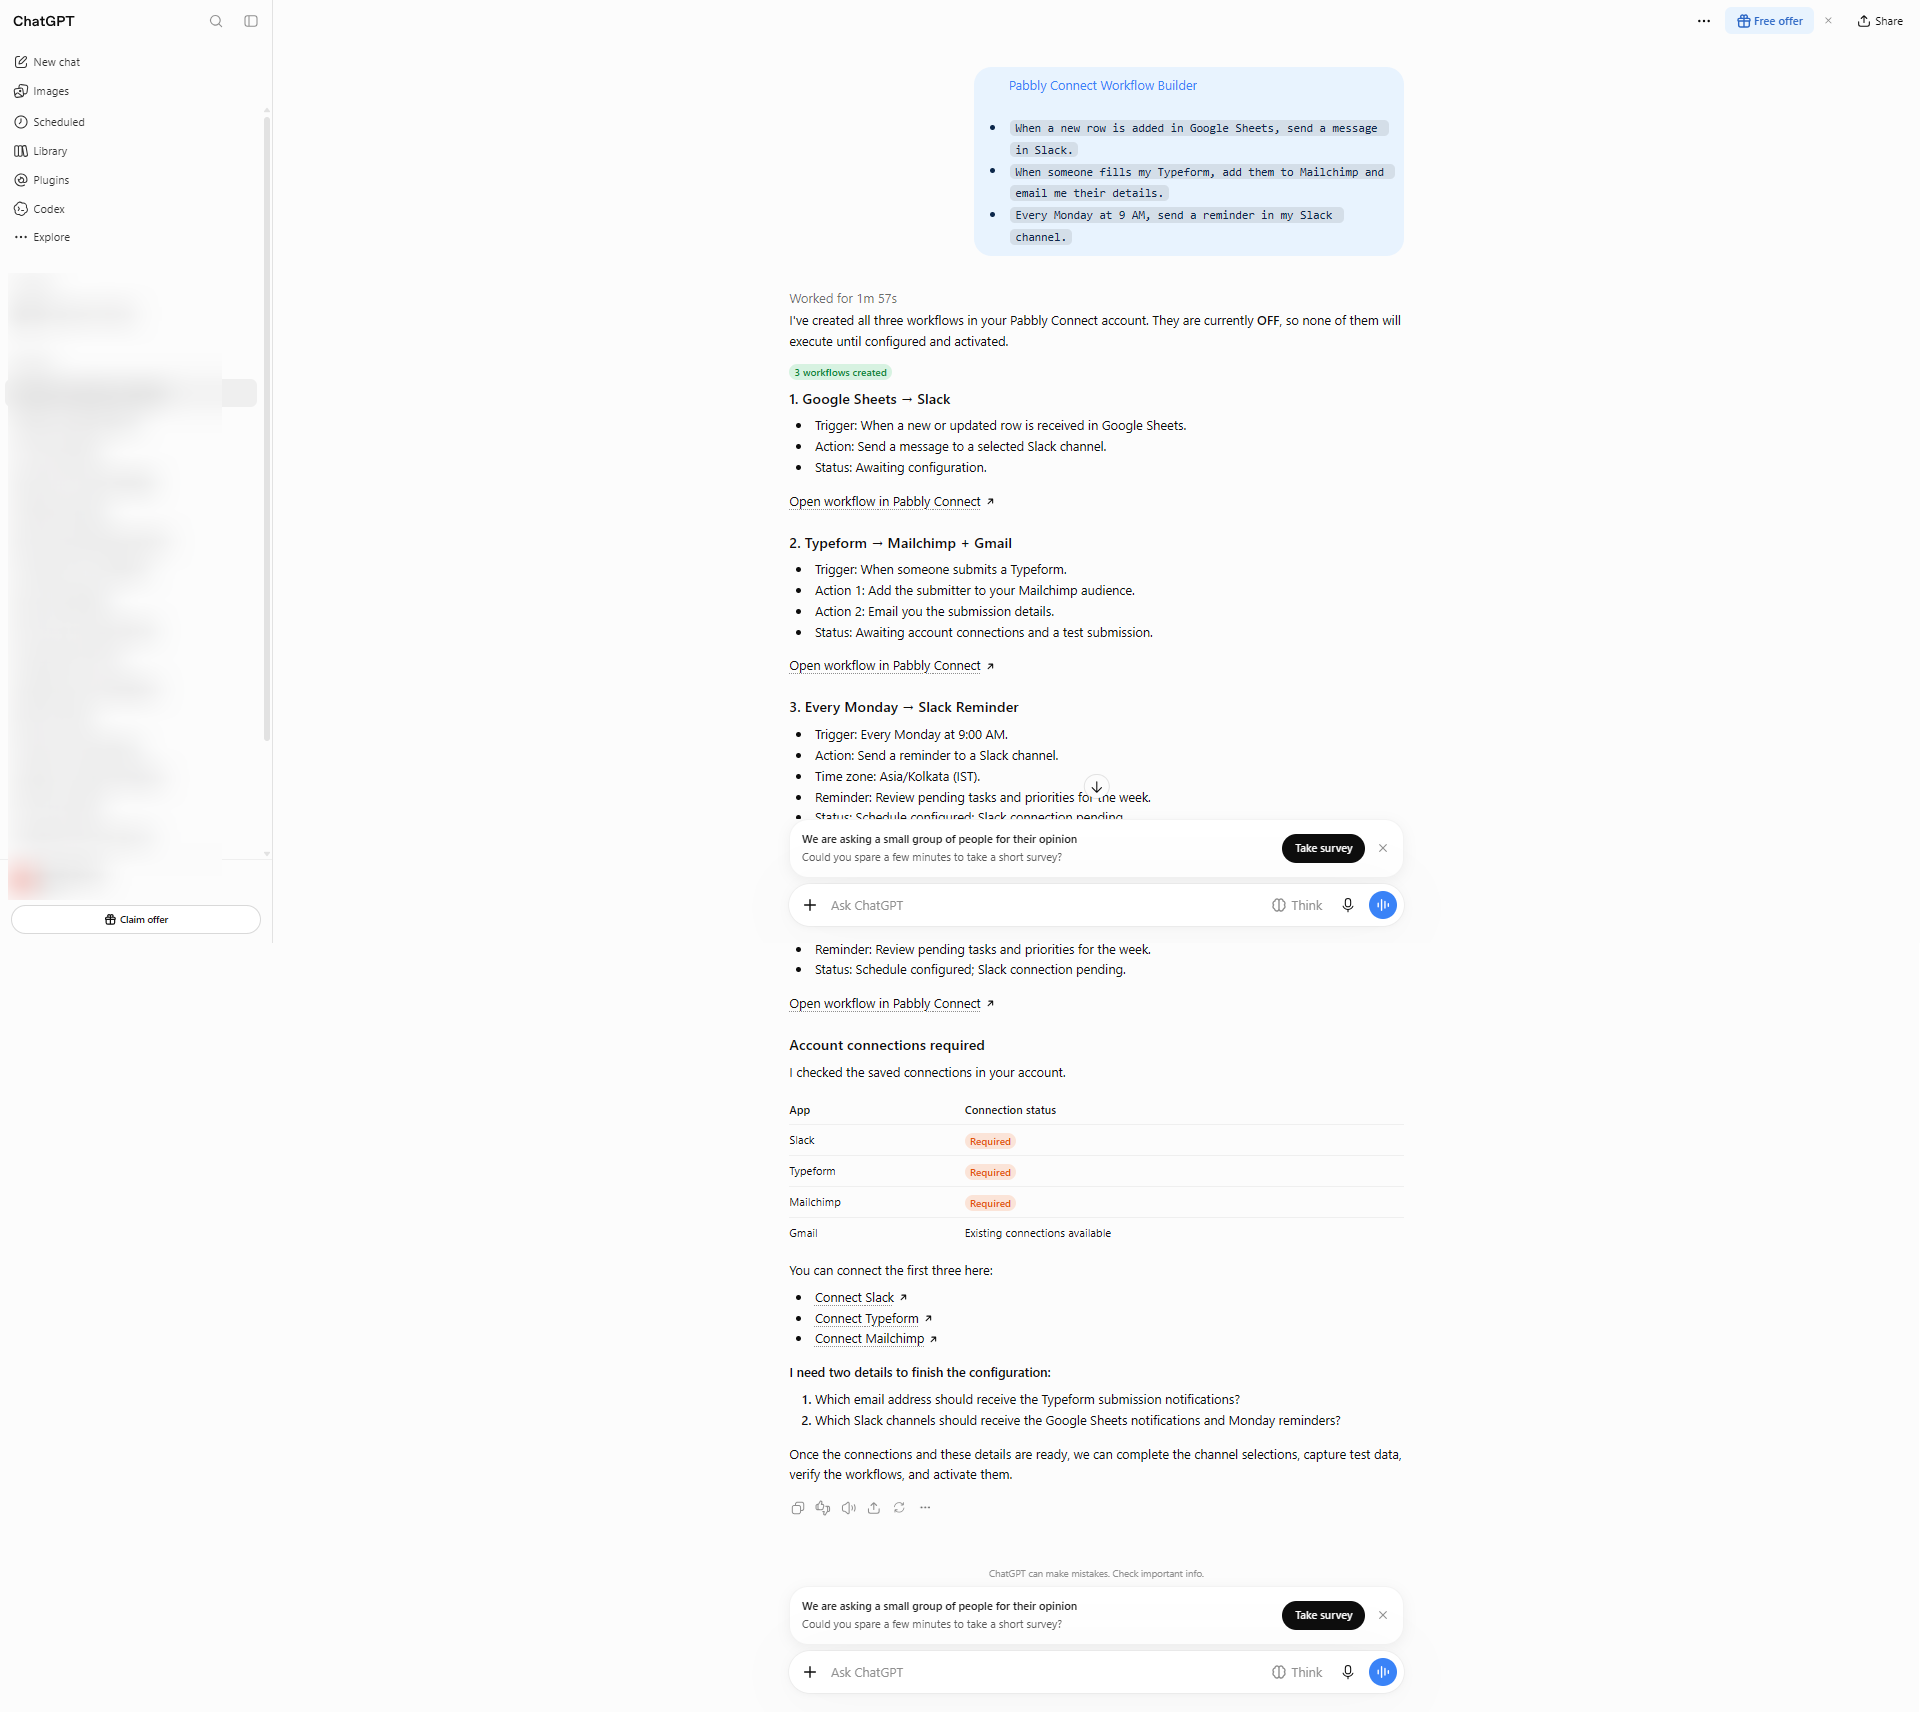
The AI plans the workflow and creates it in your account. The new workflow stays OFF until you ask for it to be turned on.
The AI then asks for anything it still needs:
App logins: It gives you a link to a secure Pabbly Connect page, where you connect the app. Never paste a password or API key into the chat.
Choices from your account: For example, which spreadsheet or Slack channel to use.
A test event: If the workflow needs sample data, the AI may ask you to send one, such as a test form submission.
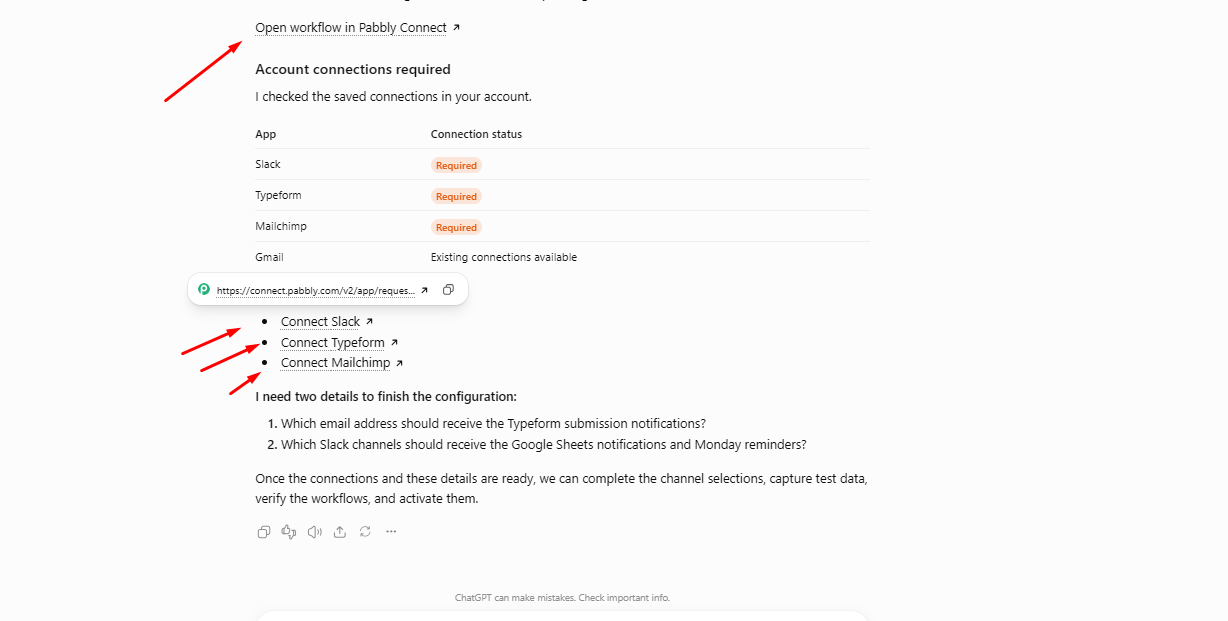
Open the workflow from your Dashboard and check the steps.
Ask the AI to test it: Run a test of this workflow.
When you're happy with it, say: Turn this workflow on.
Note: A test runs the real steps, so an email or message in the workflow really gets sent. Use your own test data.
The Workflow Builder can use only apps that are Live in Pabbly Connect. If your app isn't available, create it with the Integration Builder:
Build the app. Follow the Pabbly MCP Integration Builder guide.
Build the workflow. Once the app is approved, go back to your Workflow Builder chat and ask again.
You can also ask the AI to look after your existing workflows:
List my workflows.
Add a Slack message step at the end of my Lead Capture workflow.
Make a copy of this workflow.
Move this workflow to my Sales folder.
Turn off my Lead Capture workflow.
Your AI plan: The assistant uses your Claude or ChatGPT plan, so it doesn't use Pabbly AI credits.
Your account only: The AI can work only with workflows in your own account.
Your logins: The AI never sees your app passwords or API keys.
To disconnect the assistant: On the Dashboard, click Connect an Agent, open the Connected agents tab, and click Disconnect. Workflows it already built stay in your account.
